Play Store Configuration
This guide shows you how to setup the Google Play Store and get the credentials Glassfy needs to receive notifications about Play Store subscription status and events.
- Open the Google Cloud Console and Create a new Google Cloud Project.
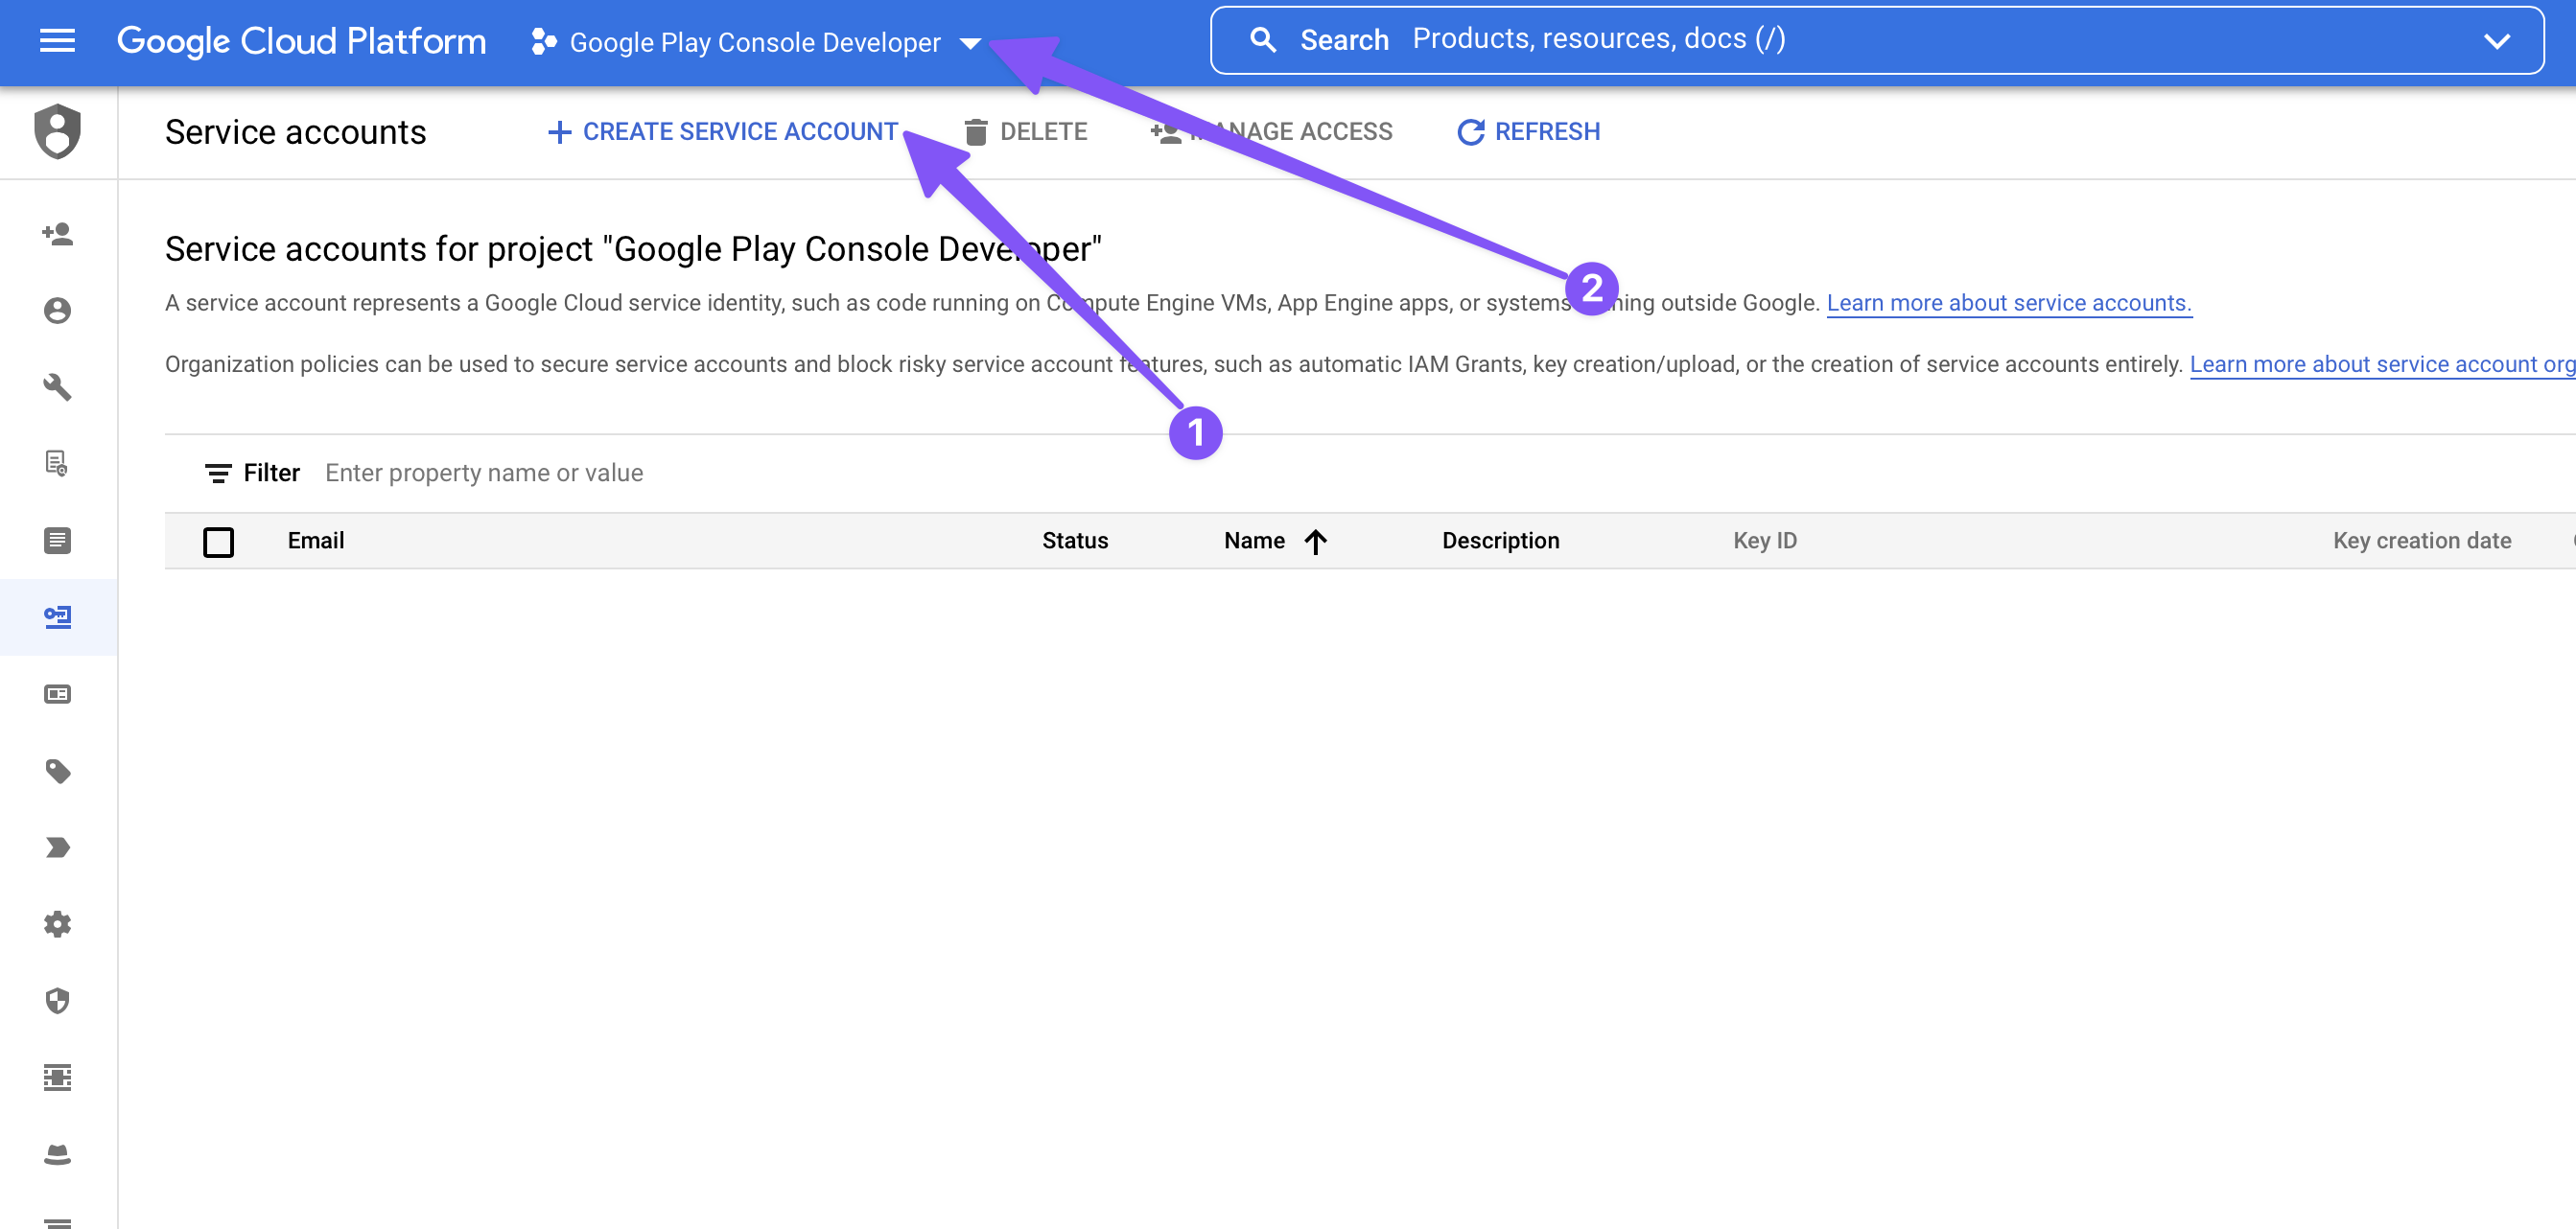
Only service accounts from the project linked with the console will be able to access Google Play Developer API for purchase verification. - Open the project and go to IAM and Admin page -> Service Accounts section.
- Click + CREATE SERVICE ACCOUNT.
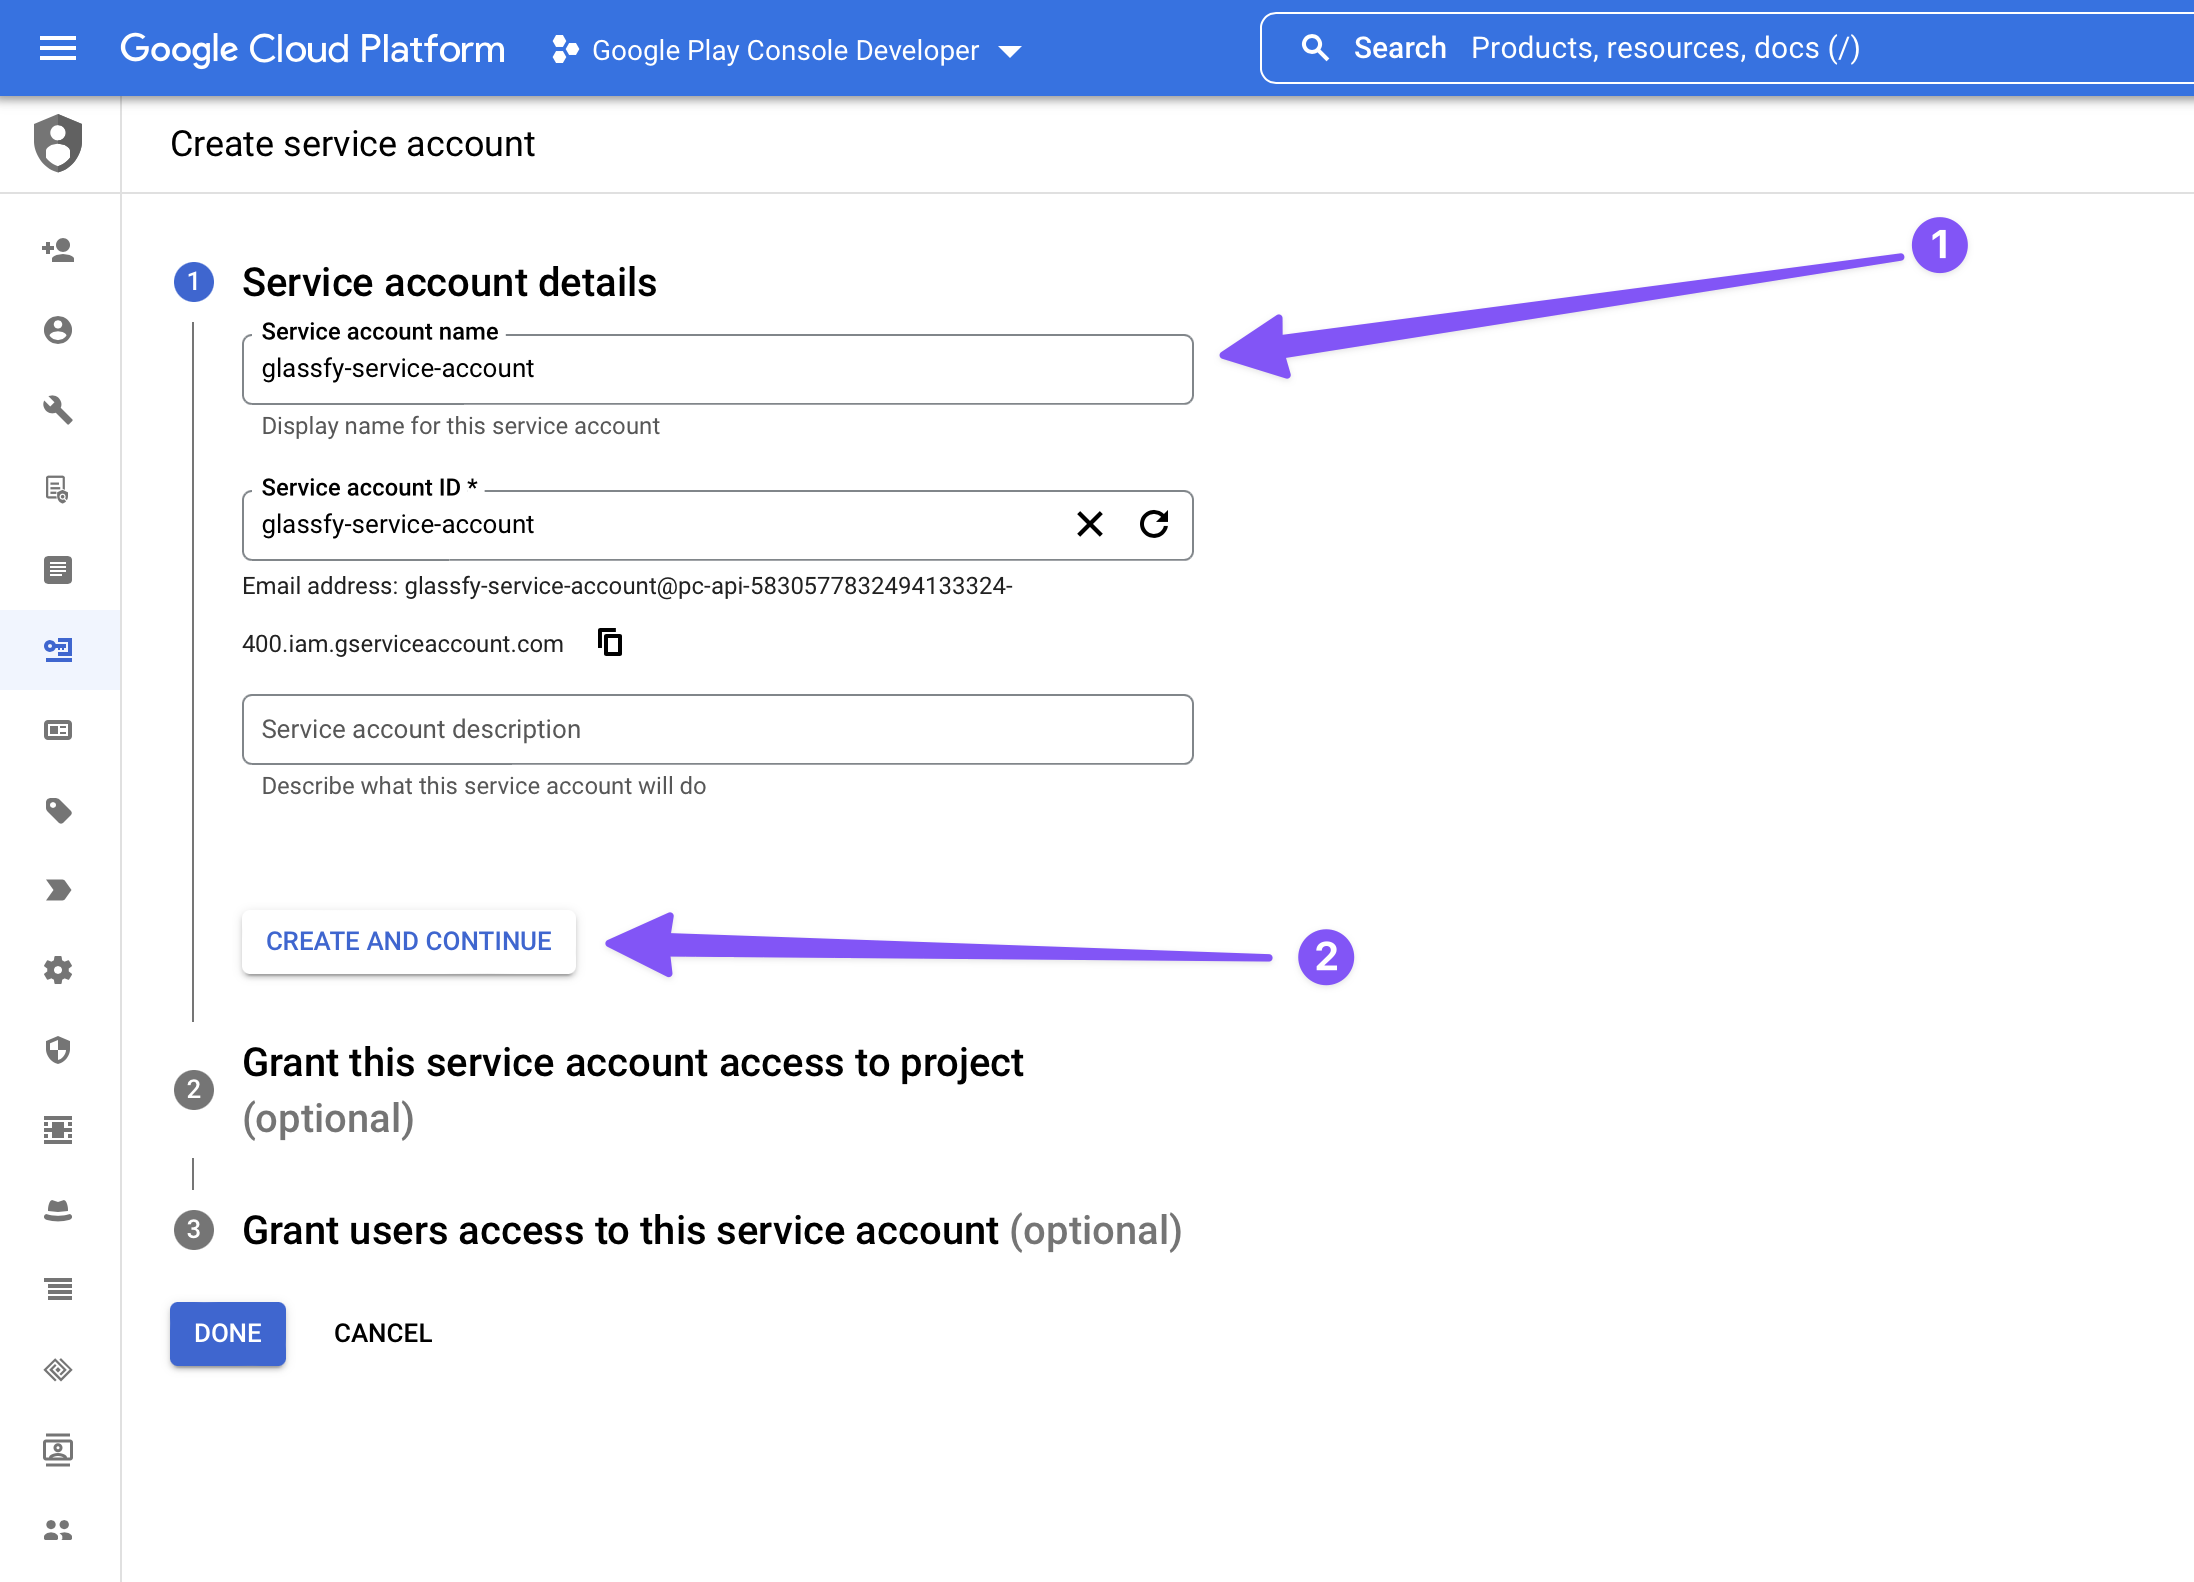
- Add a Service account name and click the CREATE AND CONTINUE button.
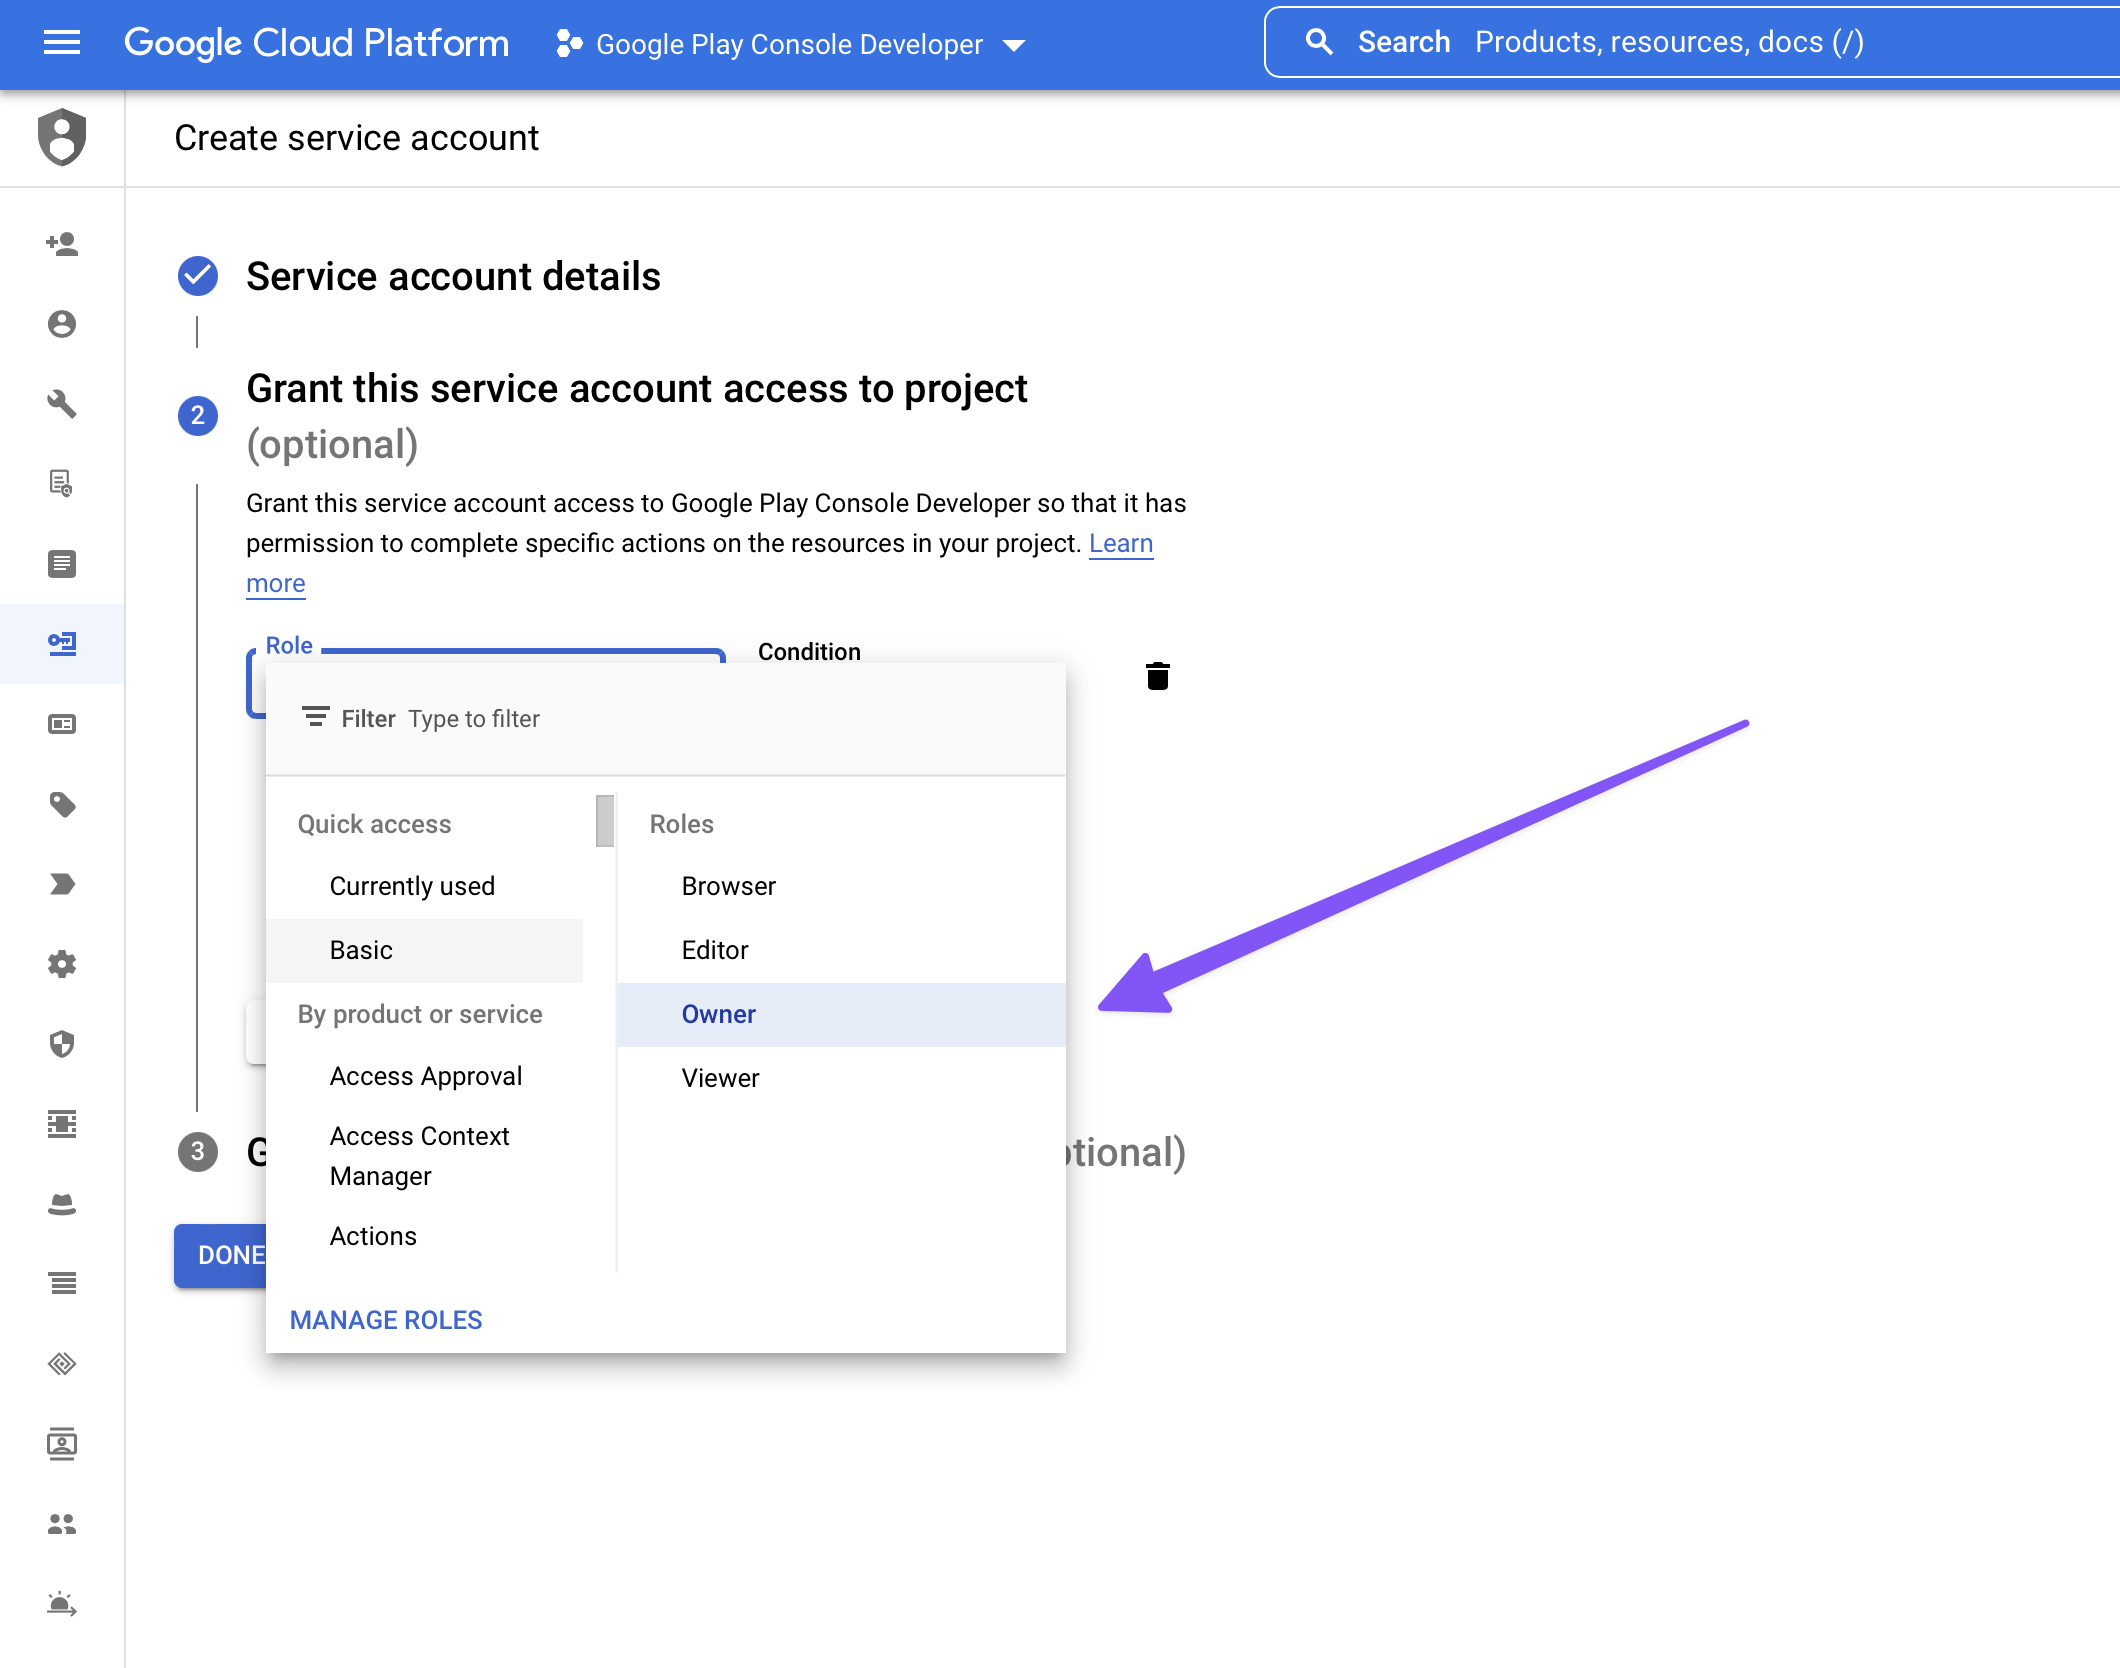
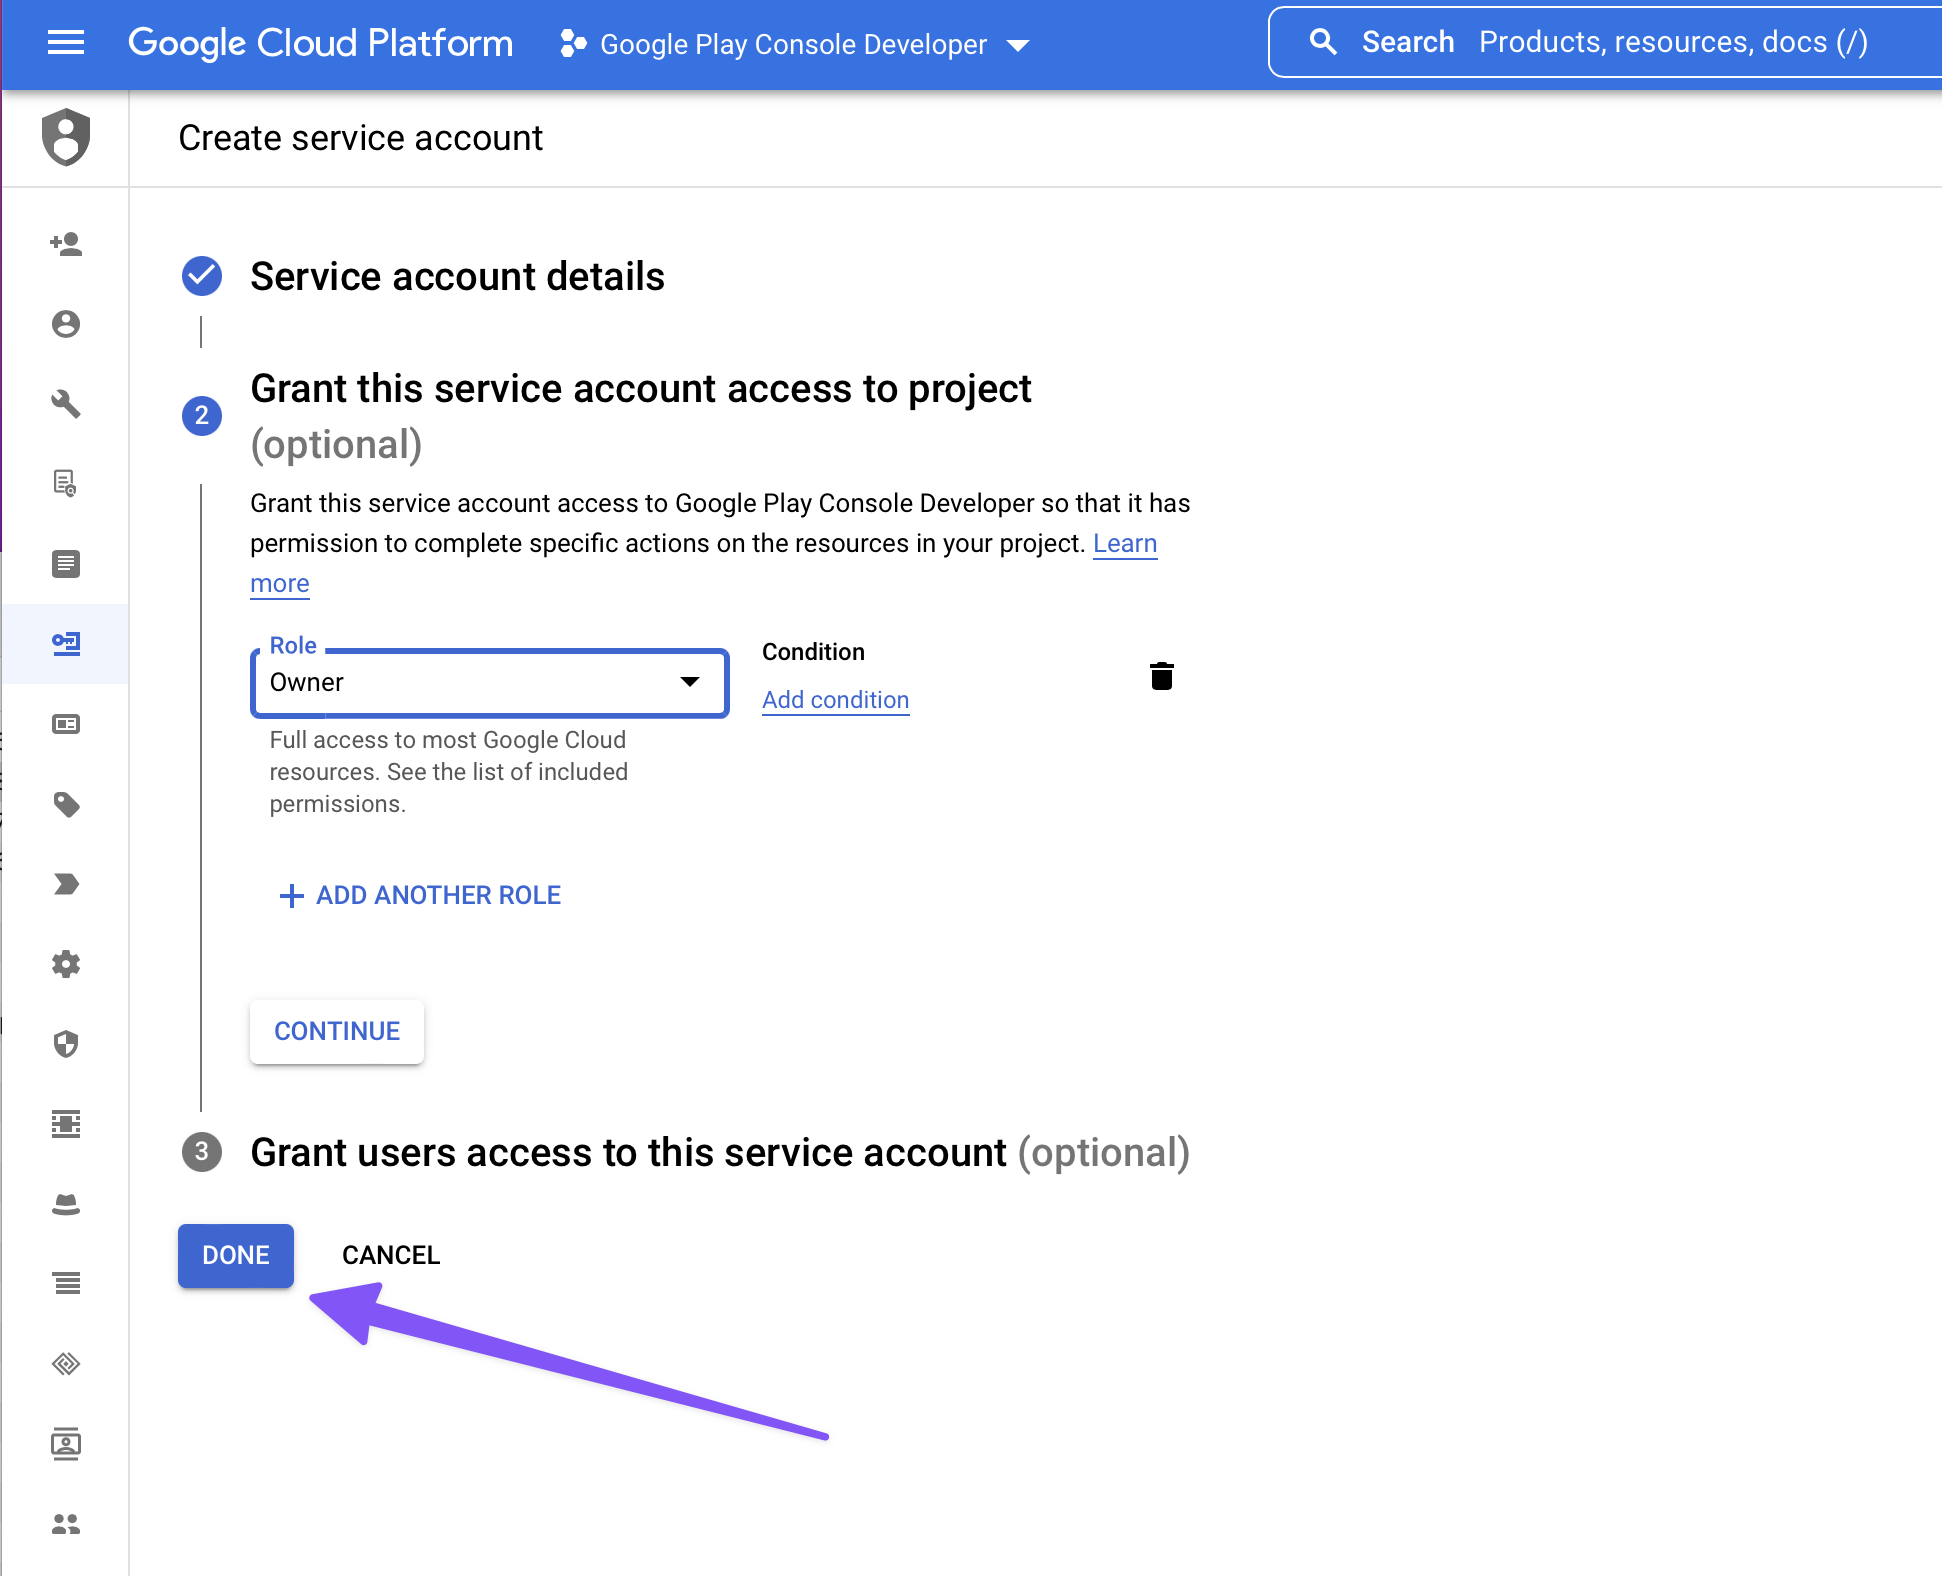
- In step 2, grant the
Ownerrole and click DONE
The minimum required permissions are granted by roles
Pub/Sub AdminandService Account User.
- Copy the full email address listed in the table in the Email column, you'll need in the following step.
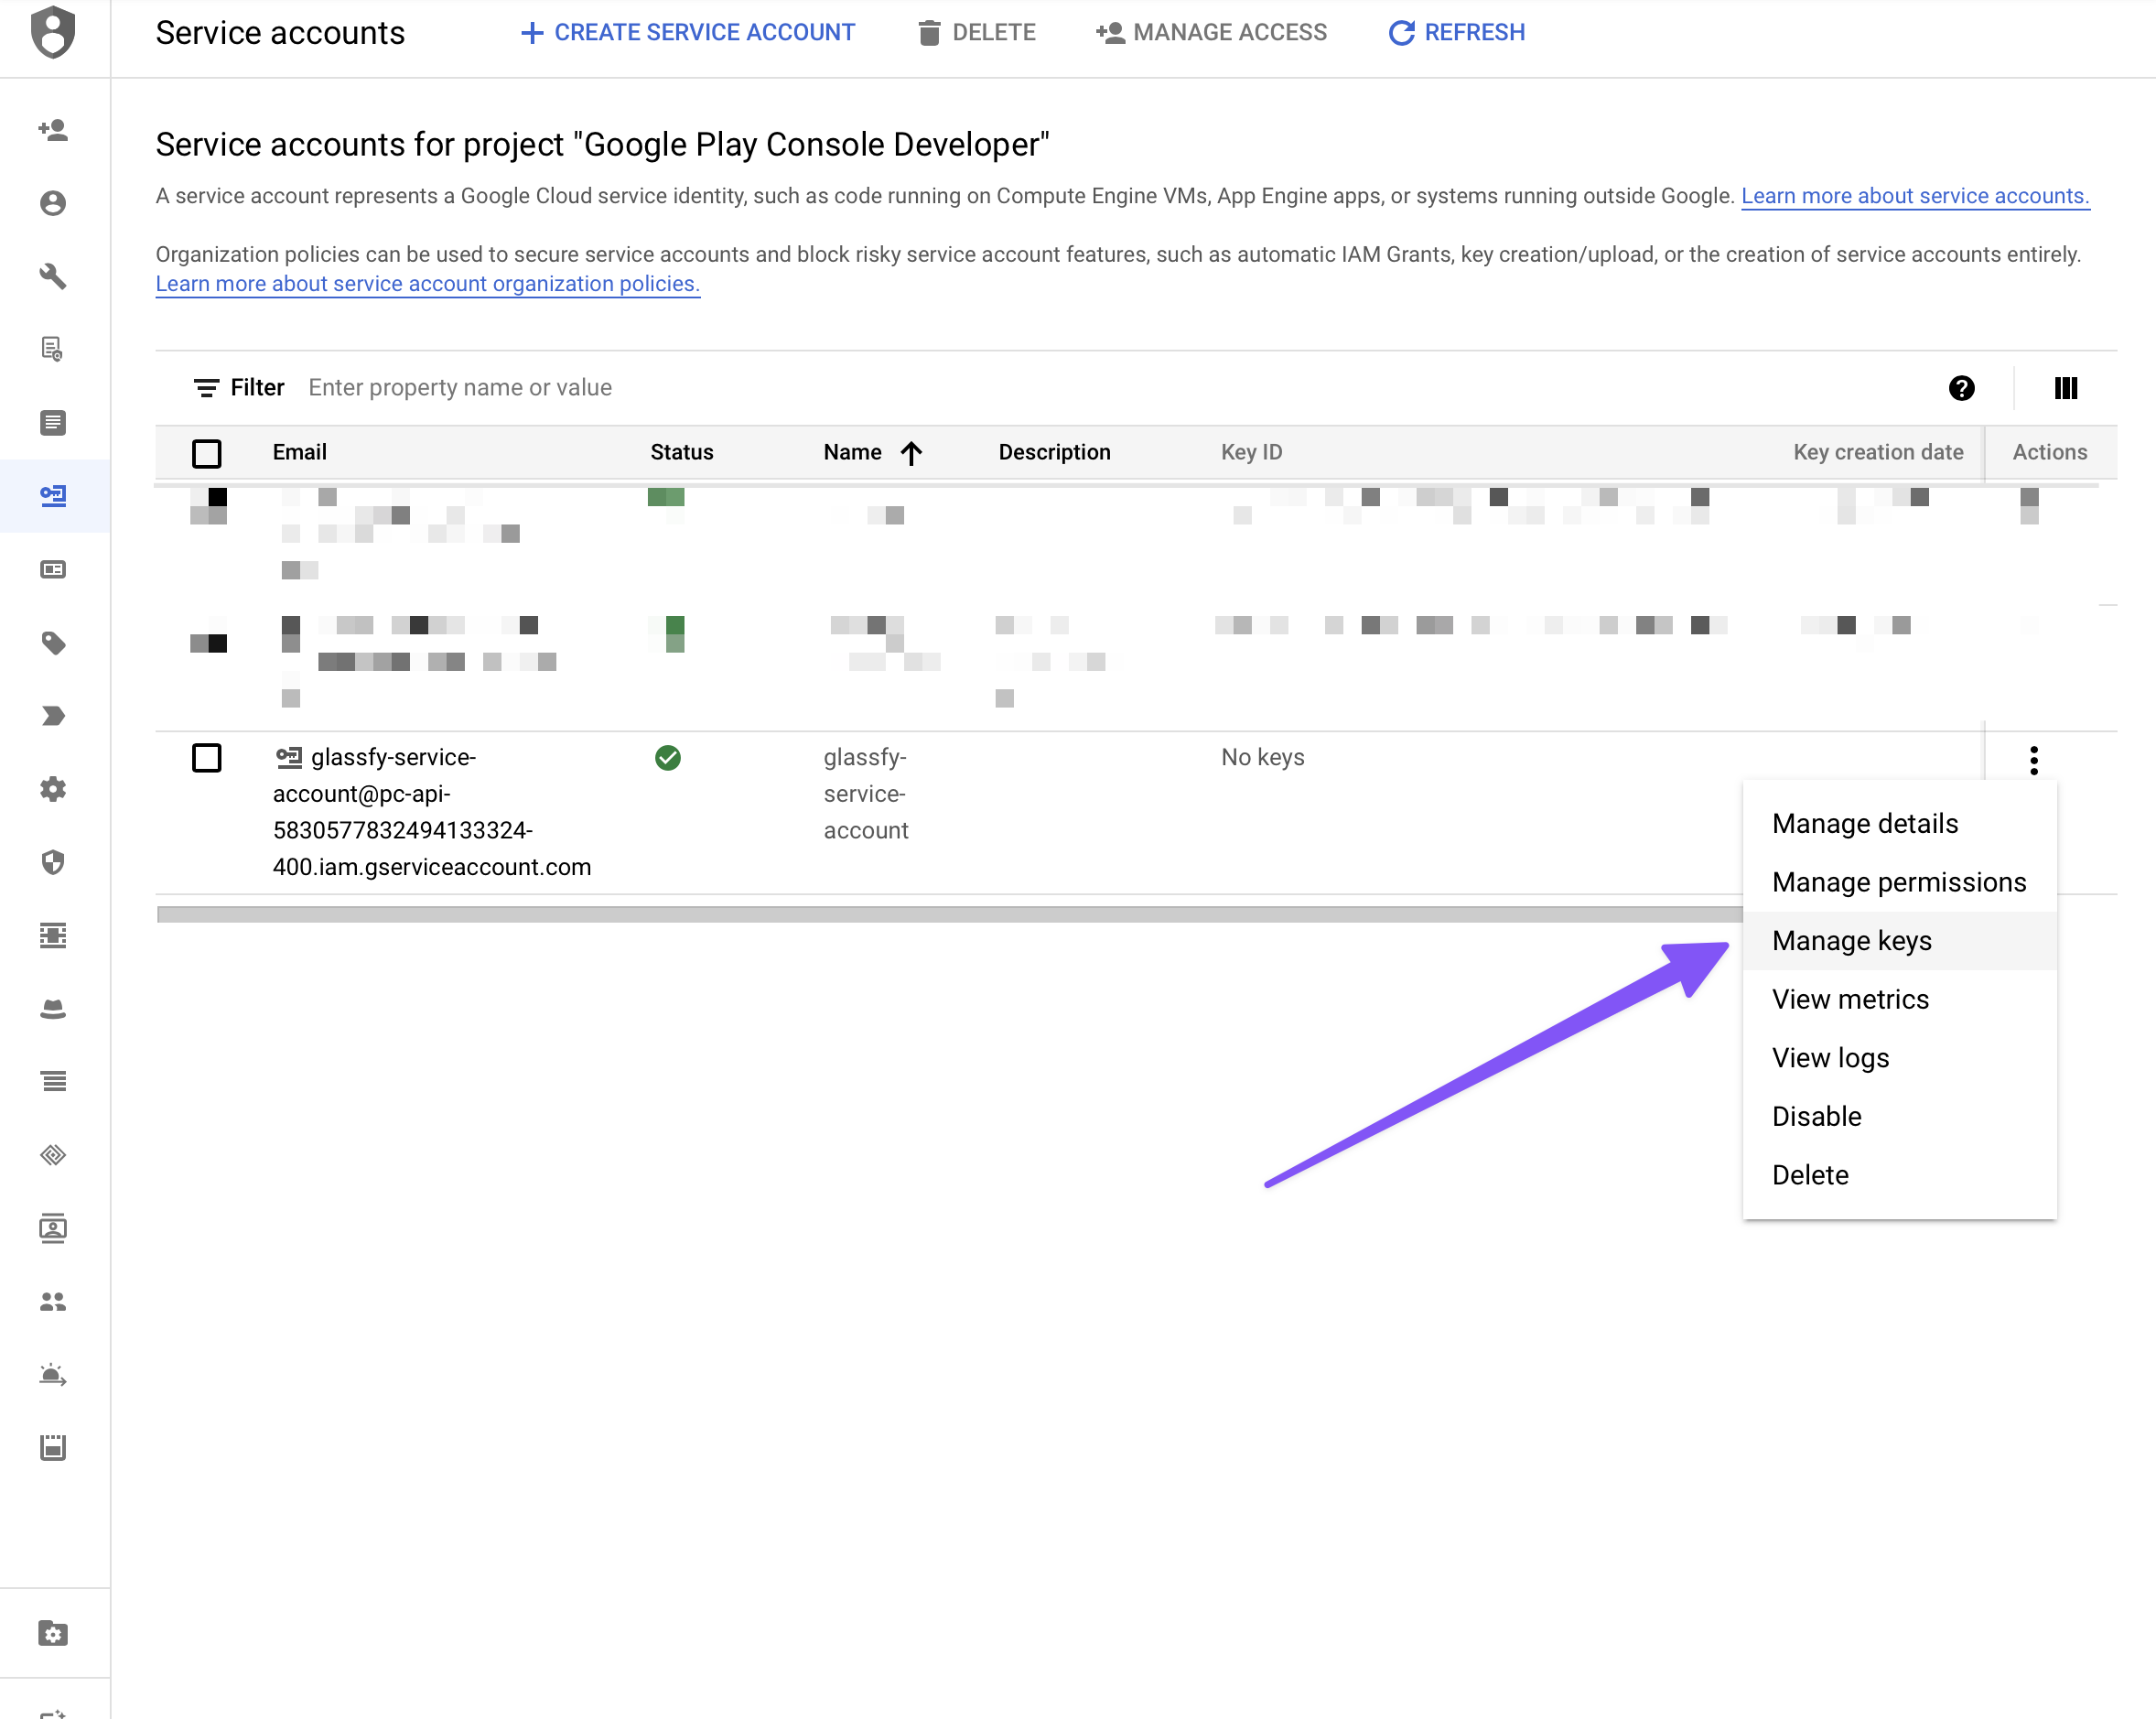
- On the new account click the three dots under Actions and click Manage Keys.
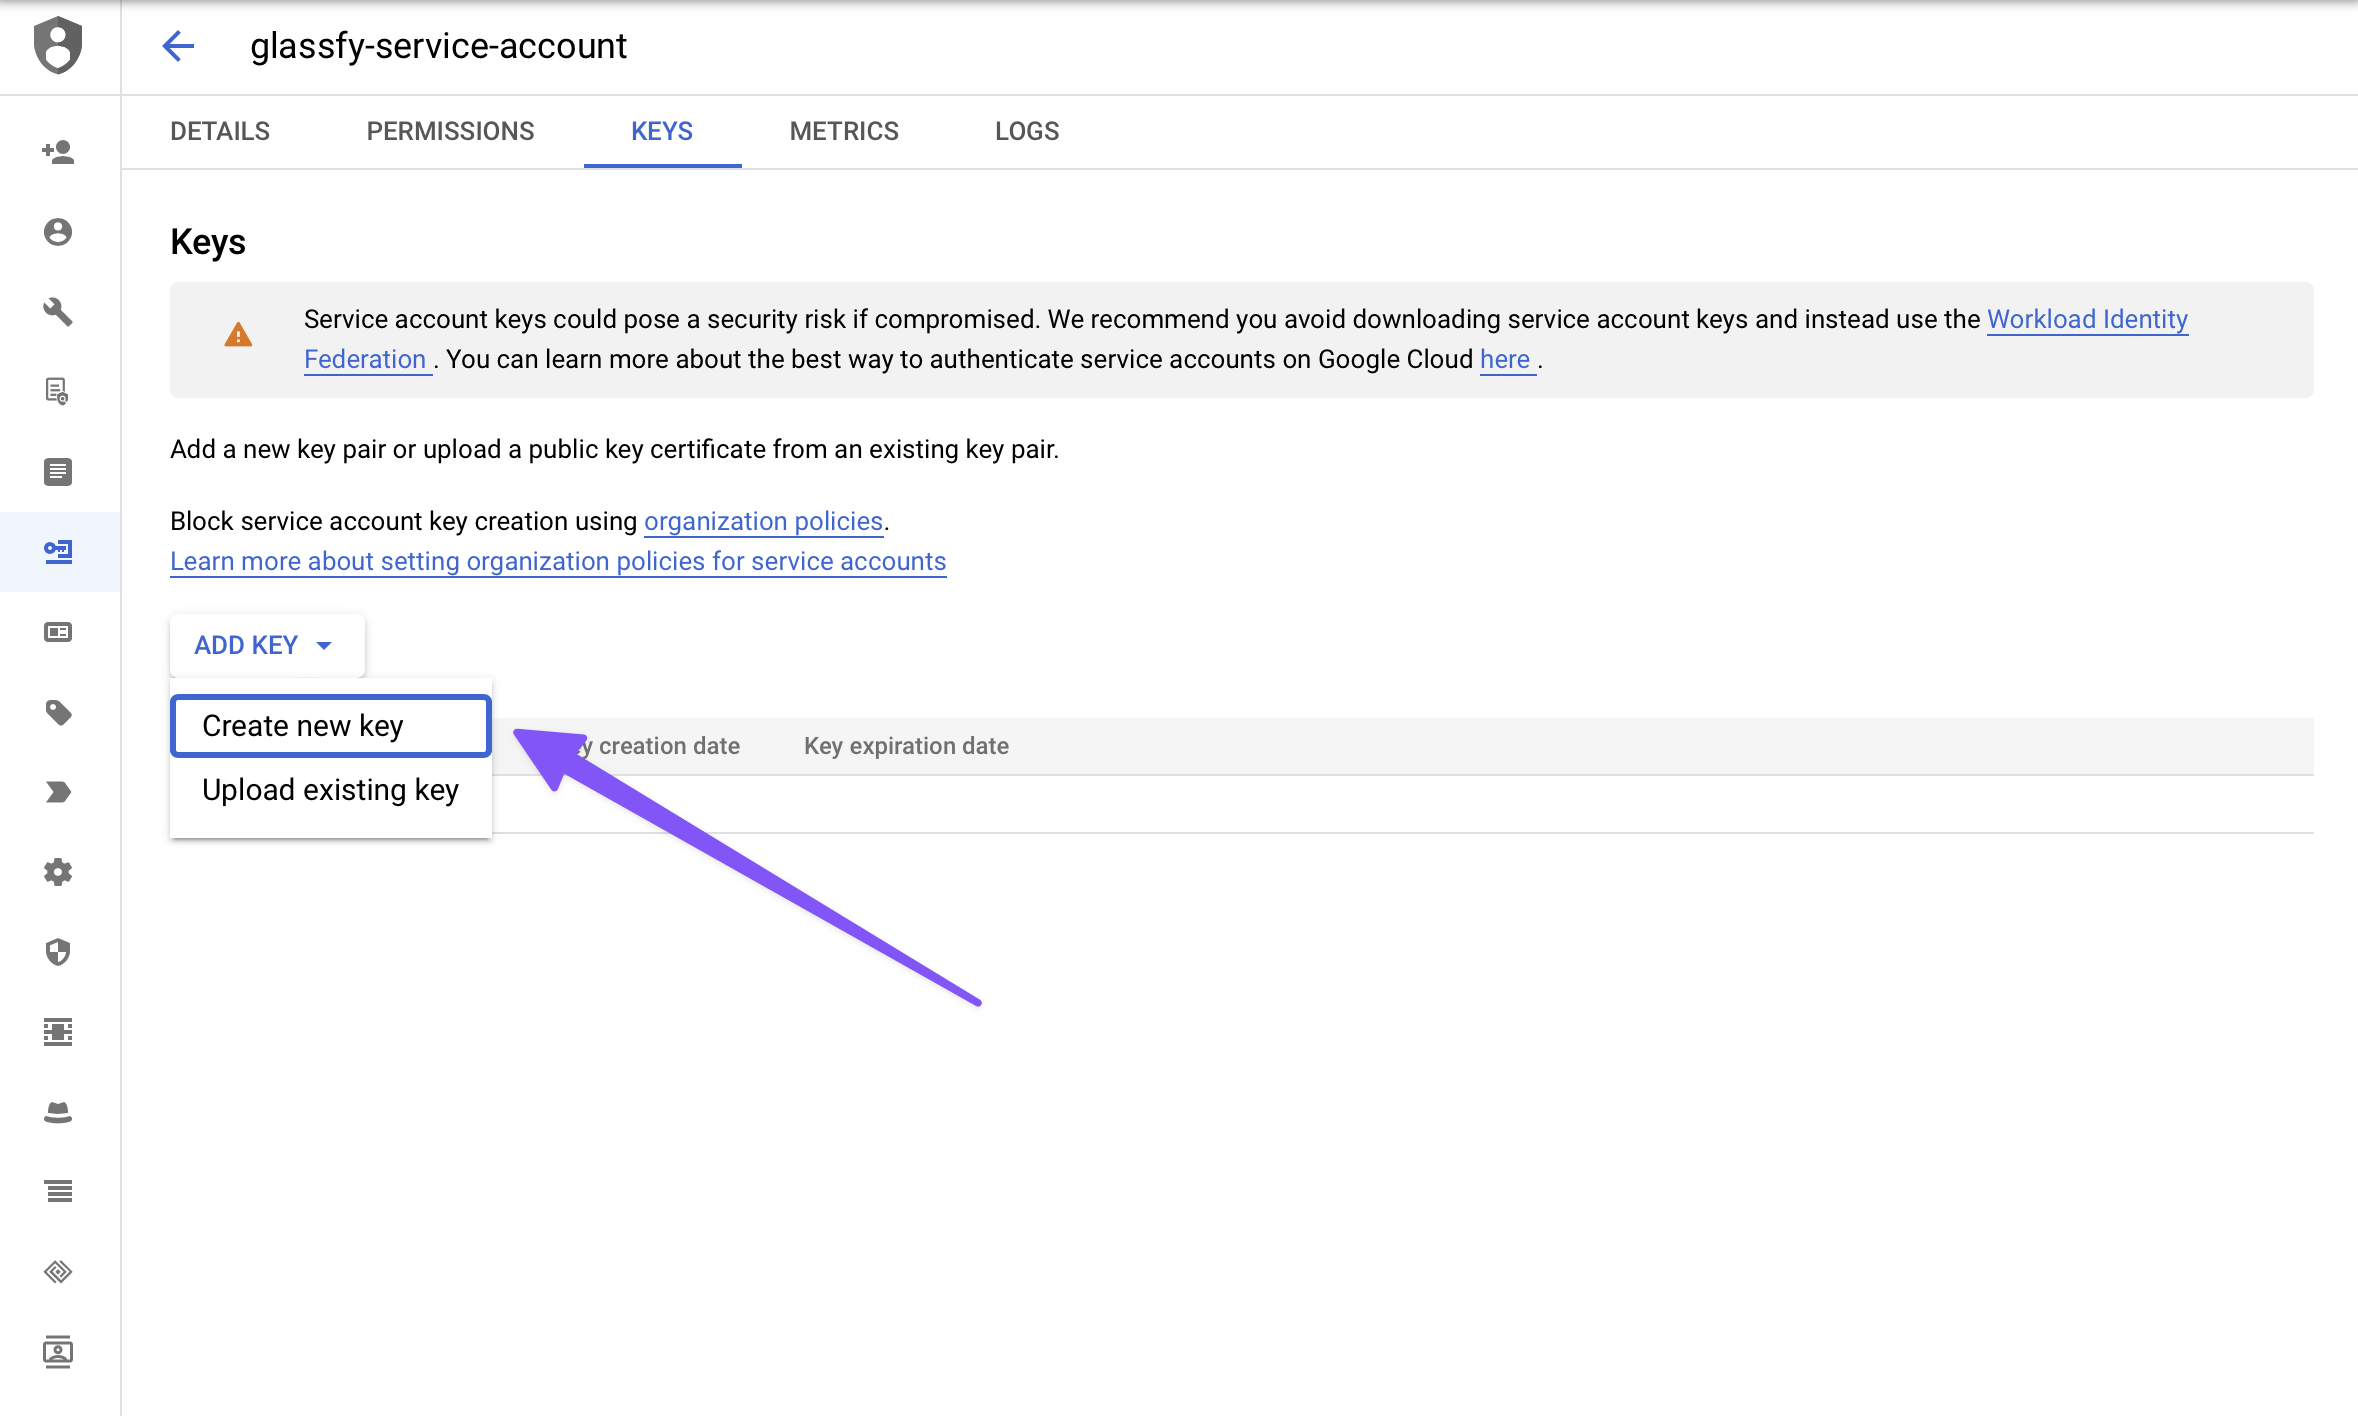
- From the ADD KEY dropdown, select Create new key.
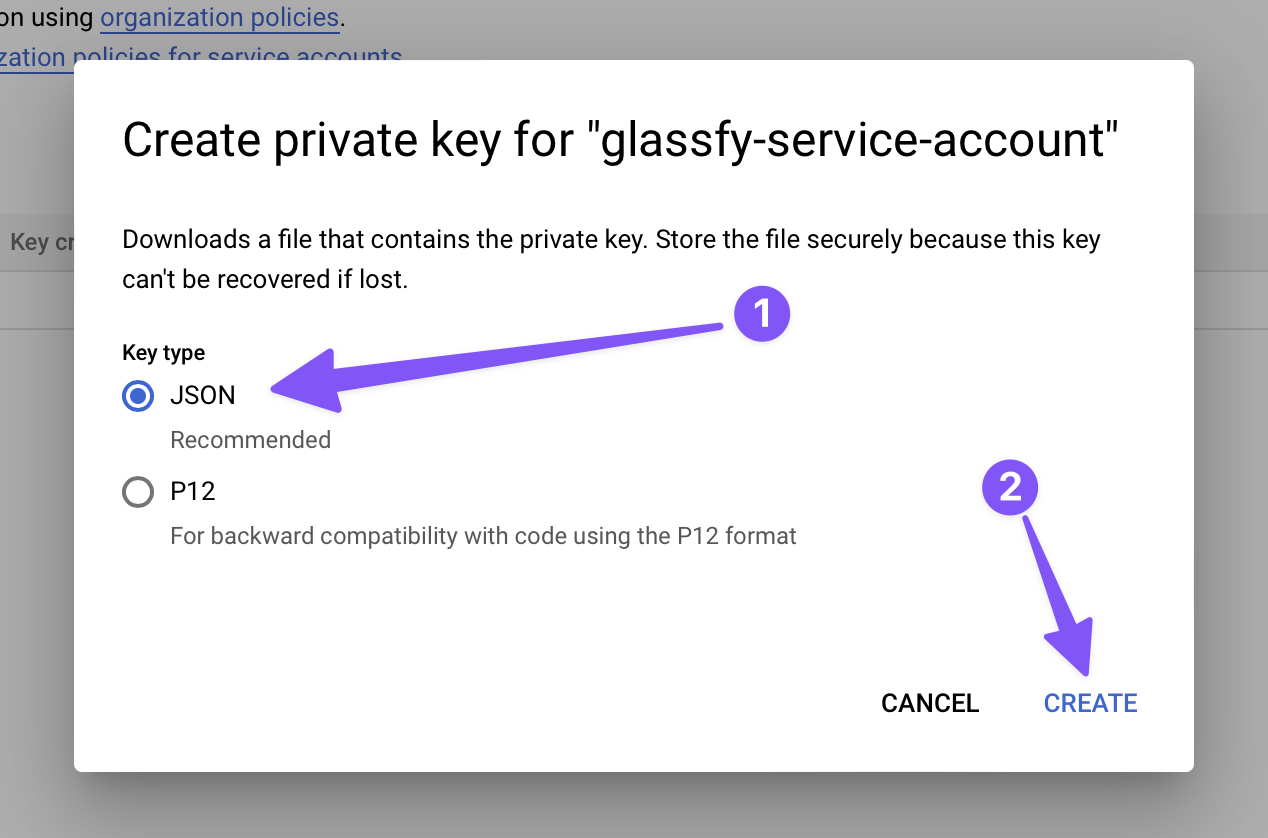
- Choose JSON, click Create, and allow the file to download.
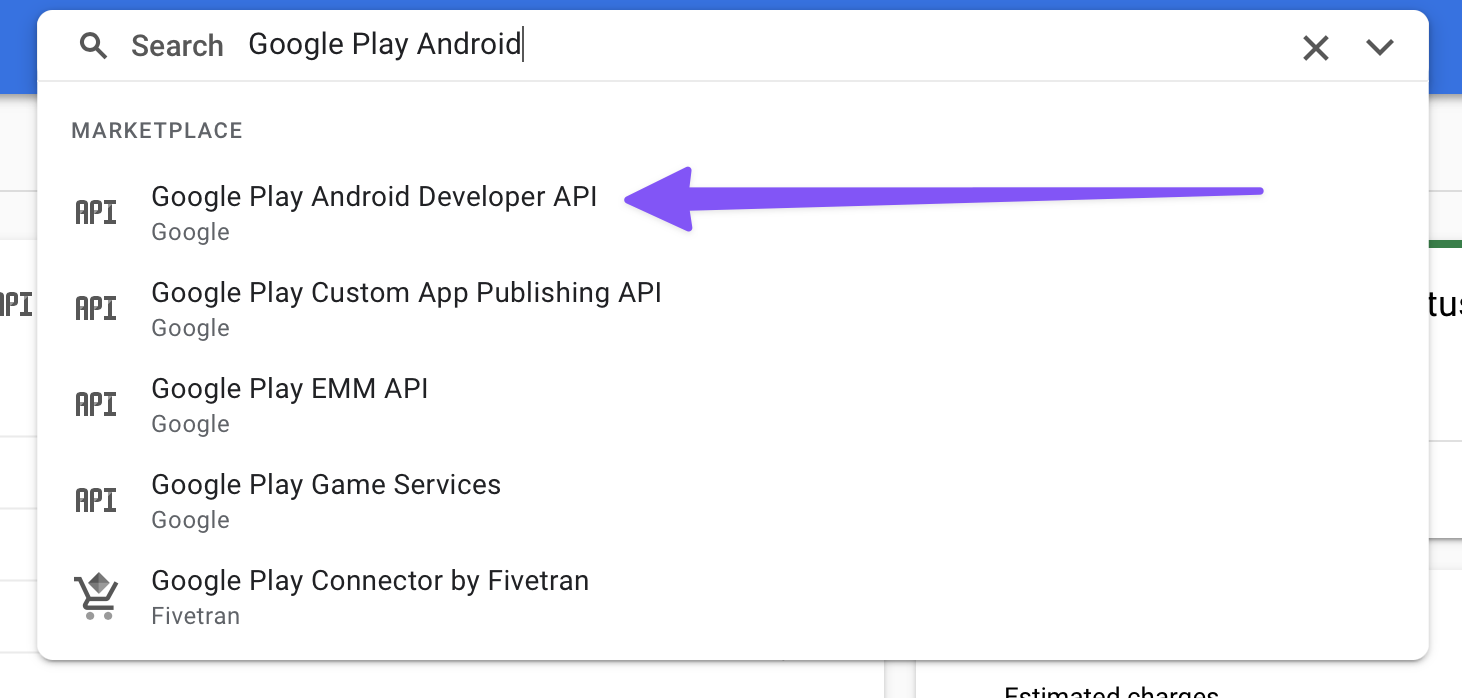
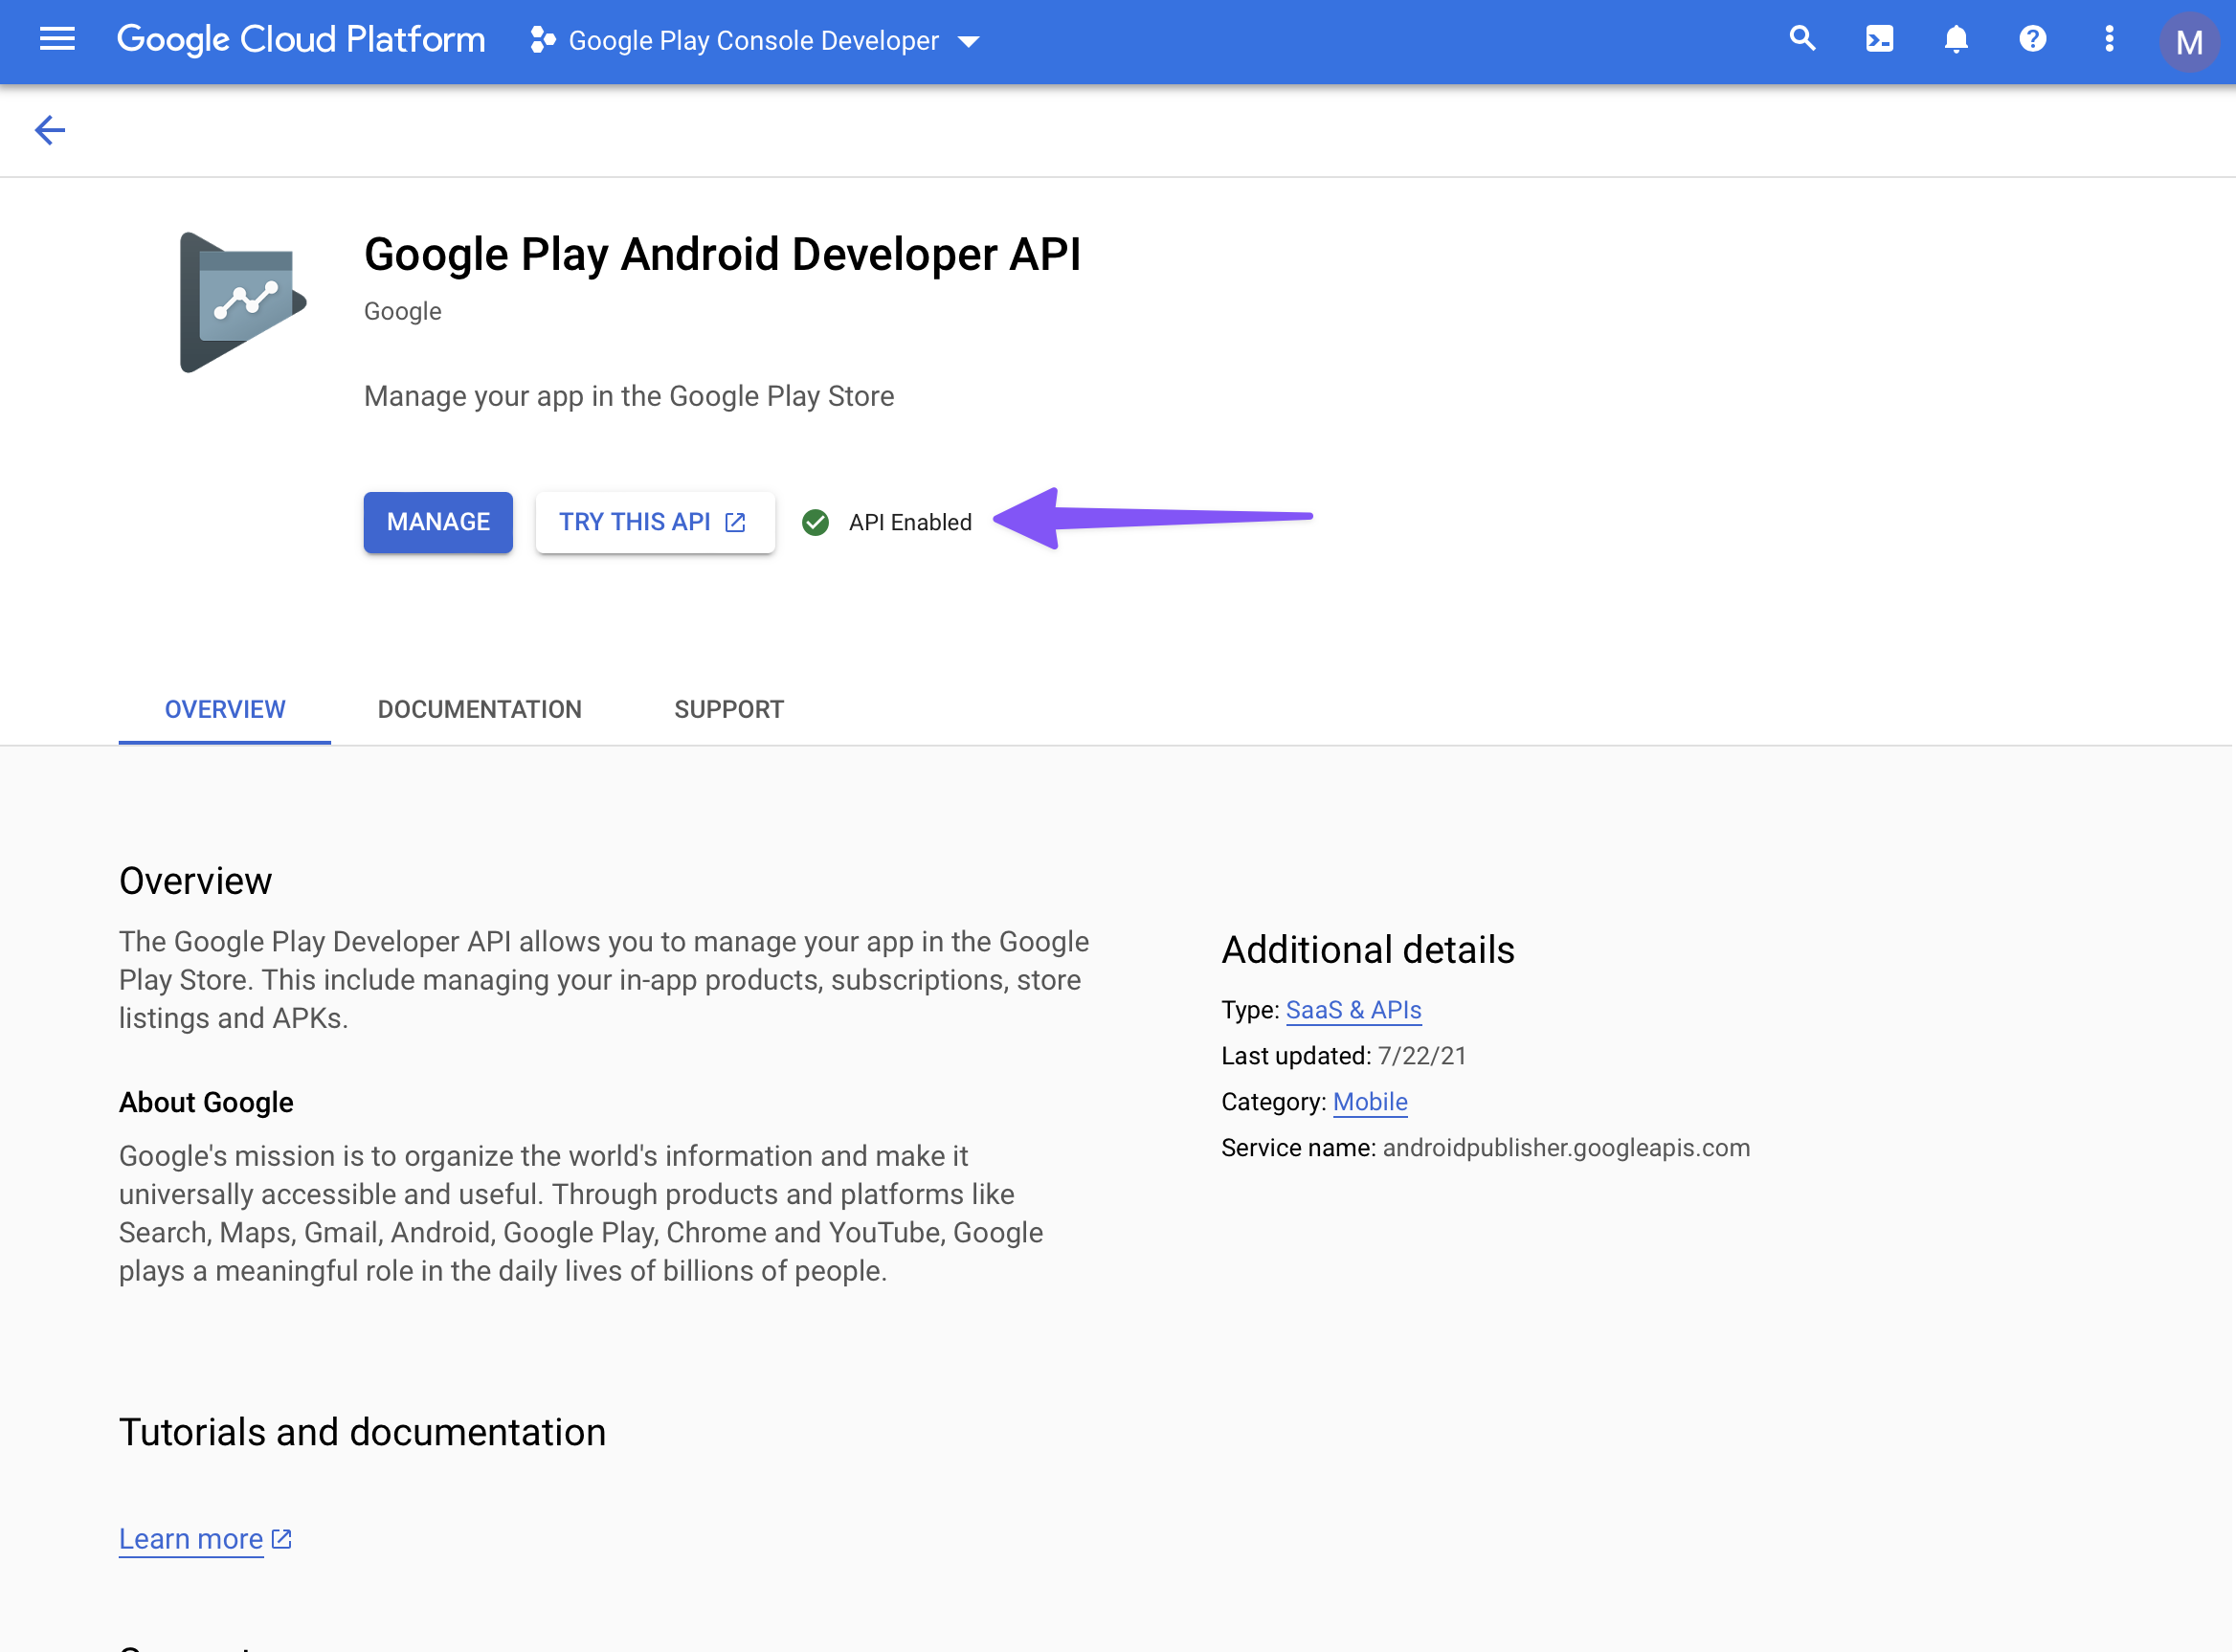
- In the Cloud Platform search (top of the page), type "Google Play Android Developer API" and select it from the list.
- Make sure the Google Play Android Developer API are enabled.
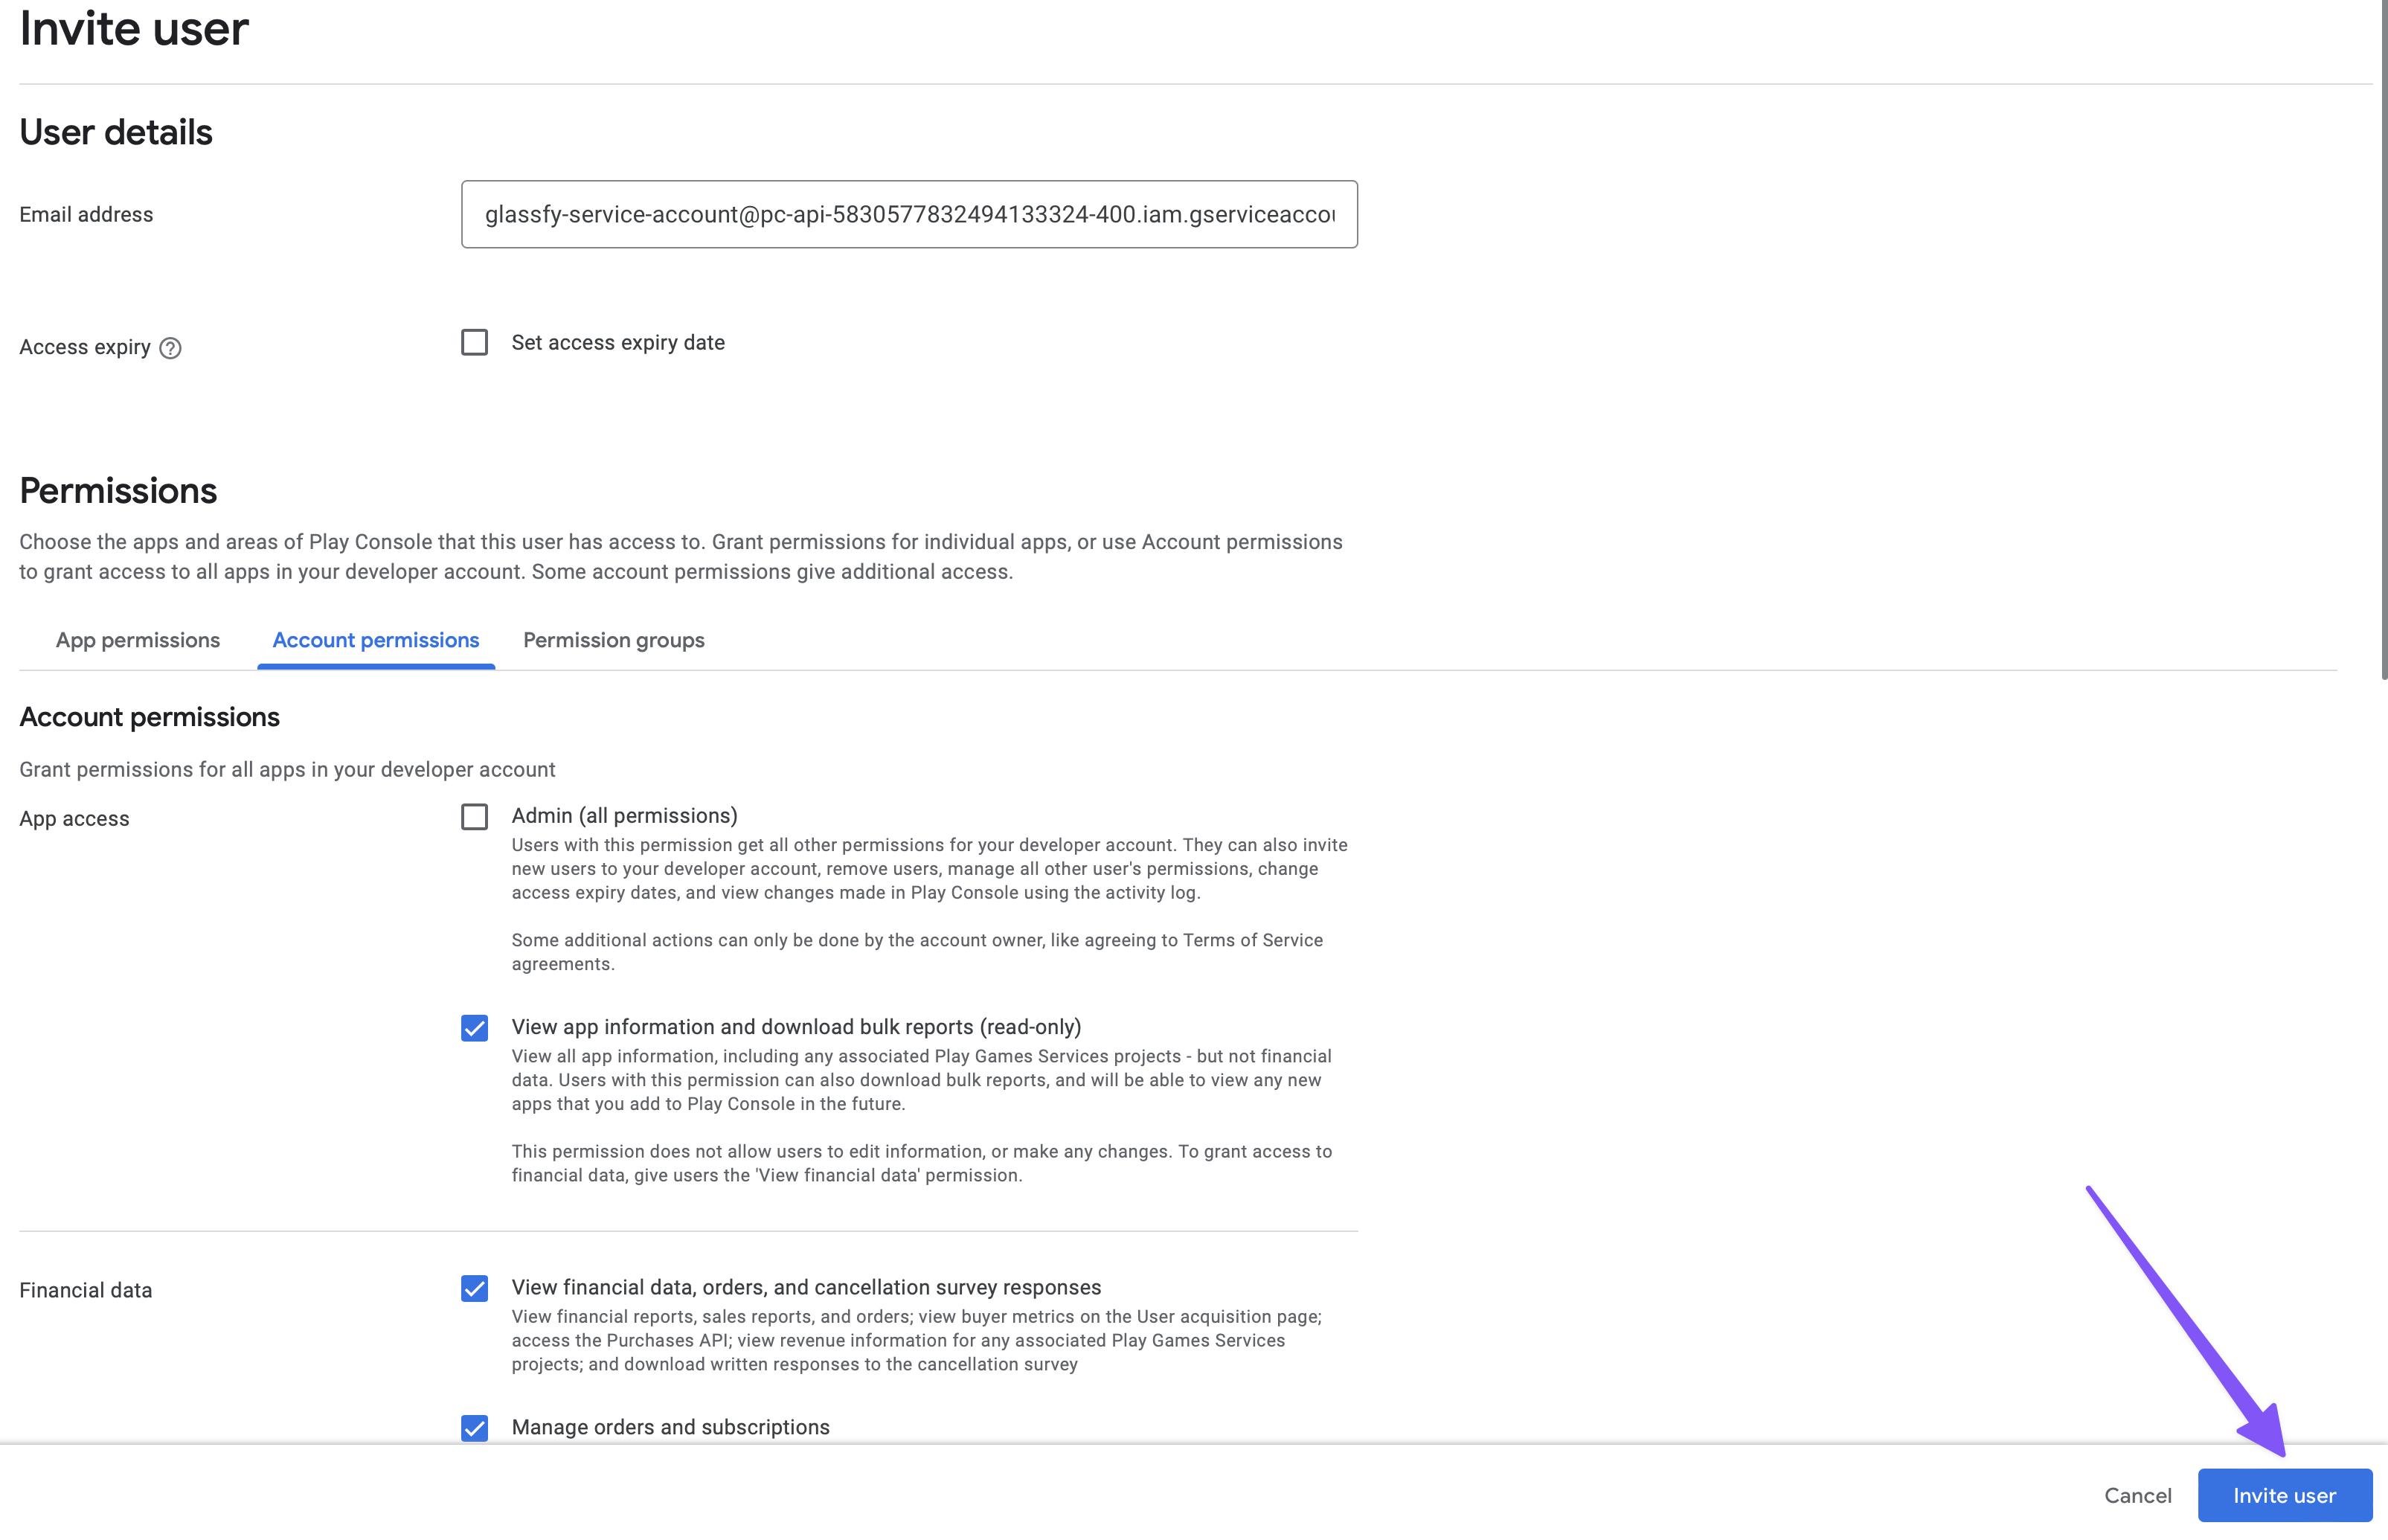
- Return to the Users and Permissions section of the Google Play Console. Under users tab, click Invite new users
- Fill the Email Address with the value of step 6 and grant the following Account permissions:
- View app information
- Download bulk reports
- View financial data, orders and cancellation survey responses
- Manage orders and subscriptions
- Manage store presence permissions
Click Invite User.
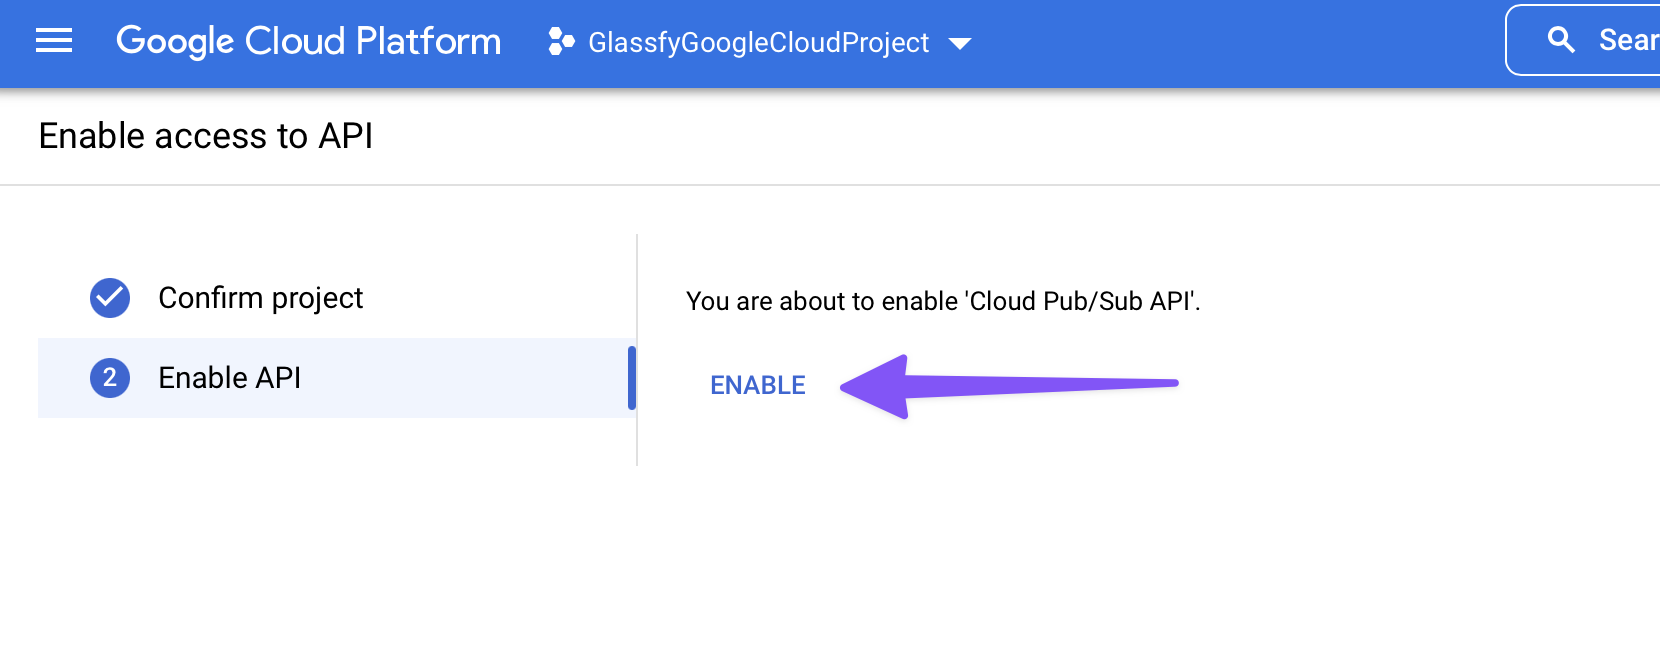
- Return back to the Google Cloud Platform, ensure the correct project is selected, and enable the Cloud Pub/Sub API by following this link.
- Go to the Glassfy -> Settings -> Play Store and fill in the application Package Name and add the JSON file you downloaded in step 9.

- Click the Generate Google Topic ID button.

- Copy the Google Topic ID

- Open the Google Play Developer Console and go to All apps -> your_app -> Monetization setup and paste the topic copied above.
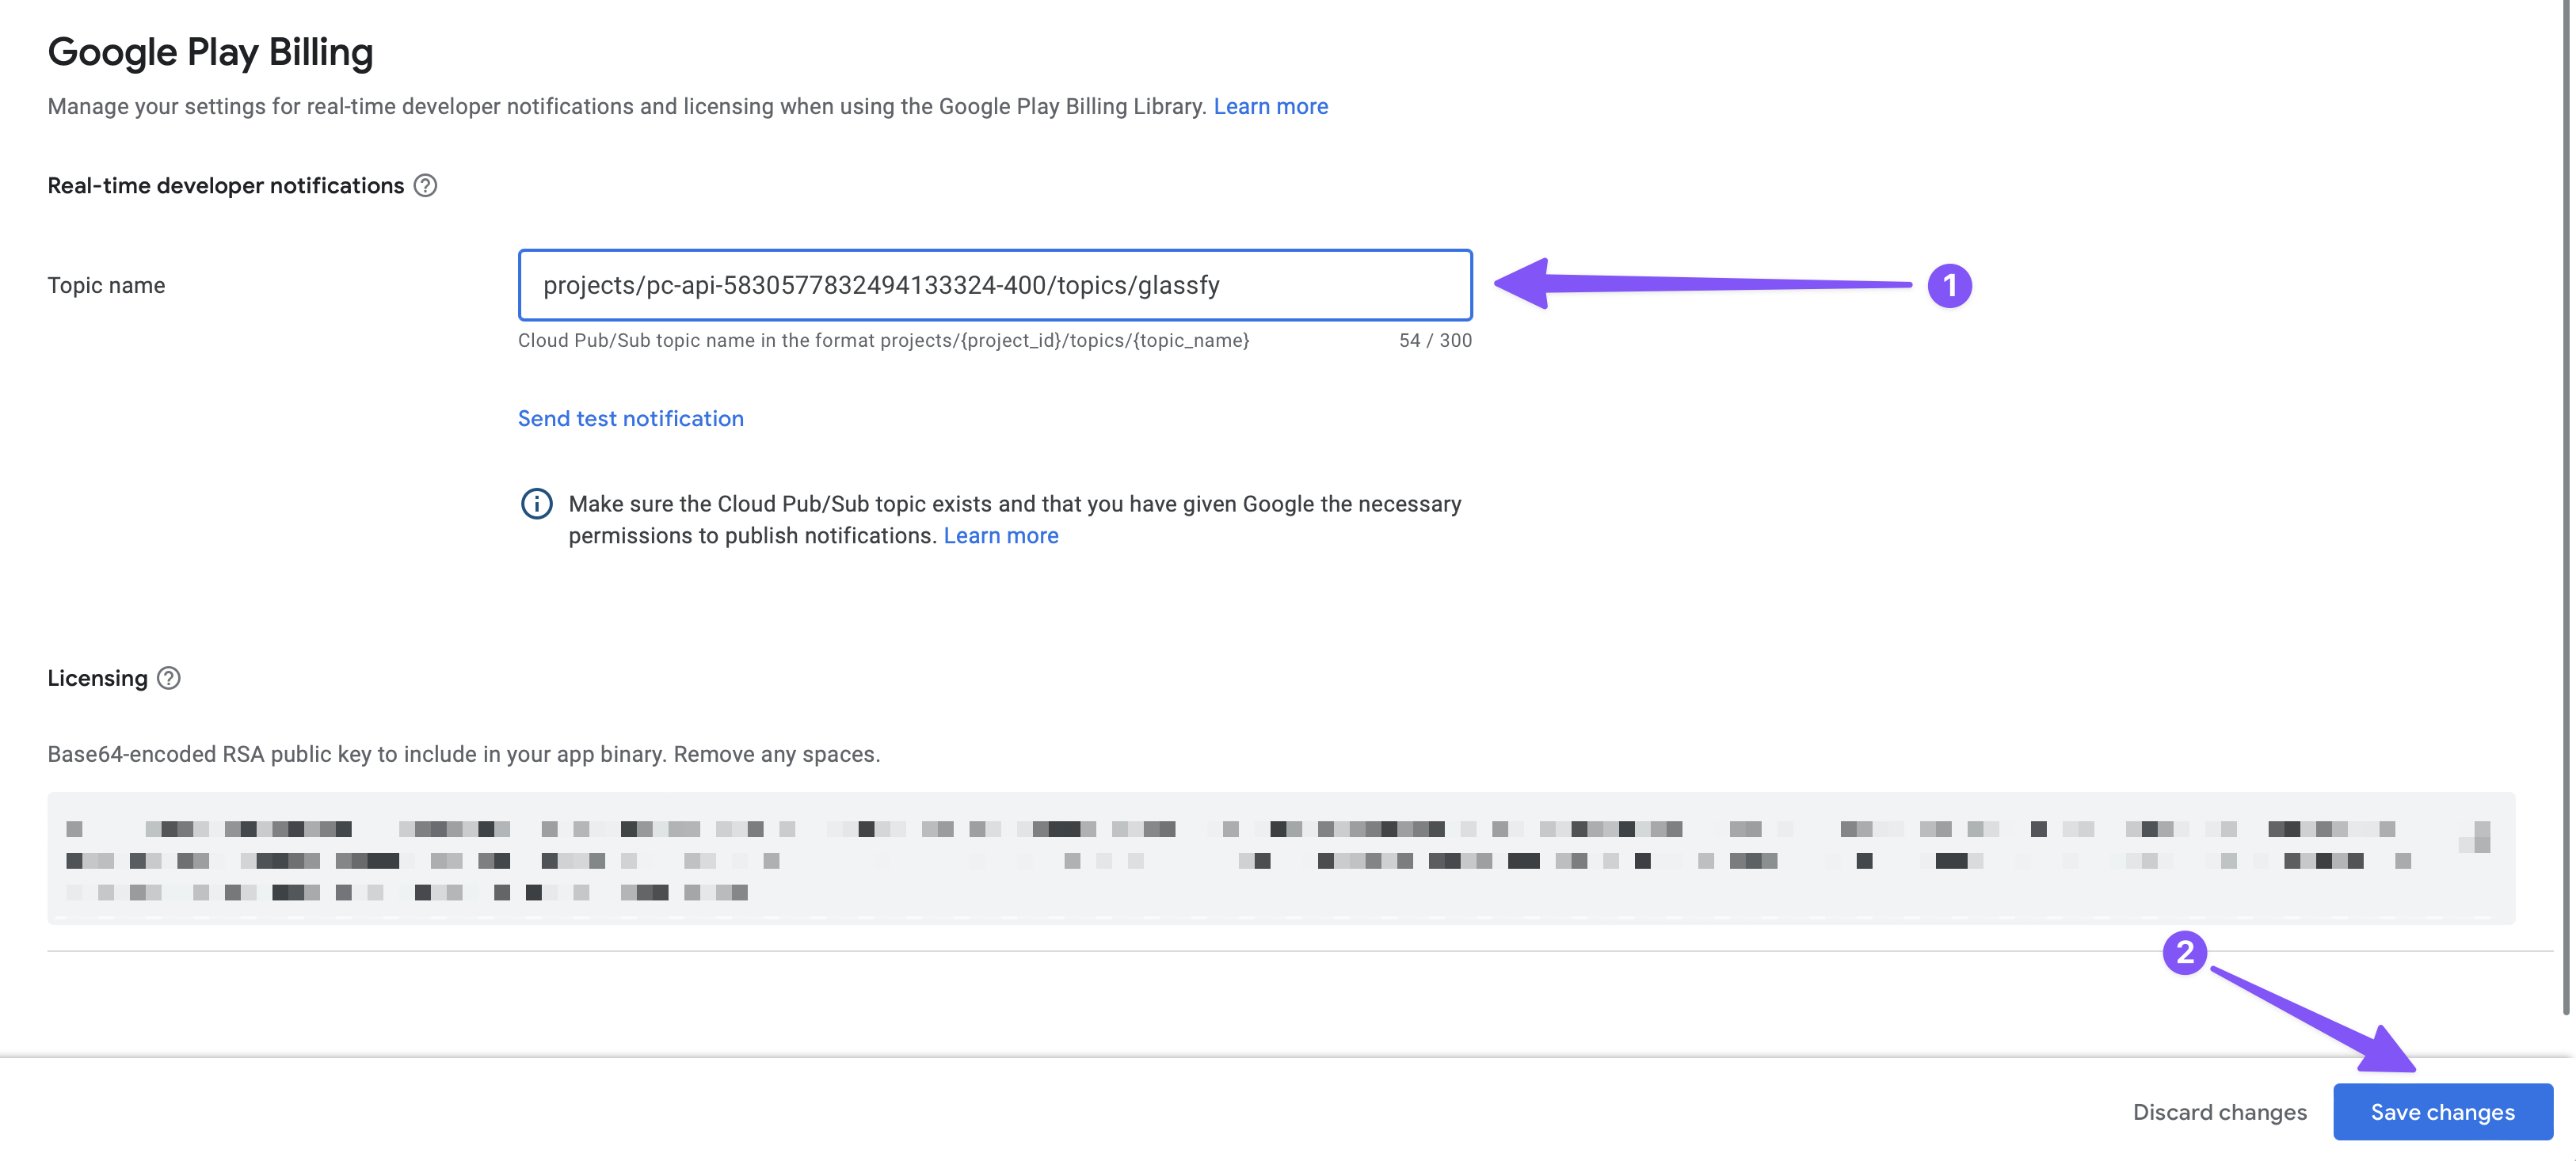
Note that it can take up to 36 hours for the steps above to take effect.
Troubleshooting
- Open Google Cloud Console -> Pub/Sub page -> Topics section. You should see in the table the topic ID of step 17, click the three dots under Actions and click View permissions. Make sure
[email protected]is listed under Pub/Sub Publisher.
Updated about 1 year ago
