Editing
This guide shows you how to create a new, or edit an existing paywall.
1. Set Paywall Name
The paywall name is a unique alphanumeric value that Glassfy uses to refer to the paywall.

2. Choose the Template
You can choose between two templates: Vertical base layout and Vertical base layout with horizontal button.
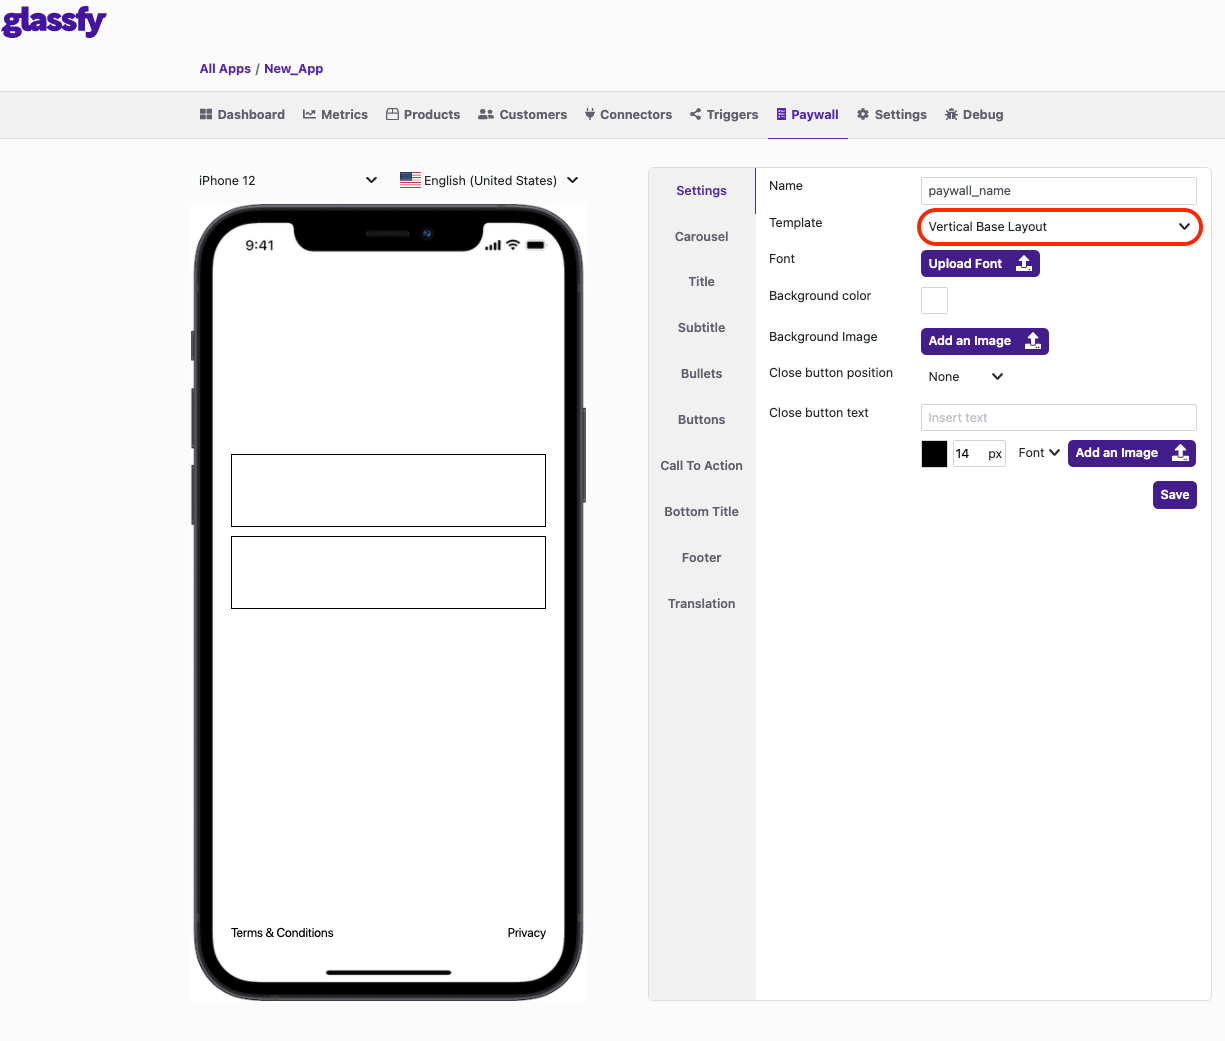
Vertical Base Layout
With the Vertical Base Layout, there is only one button per line and each button covers it entirely.
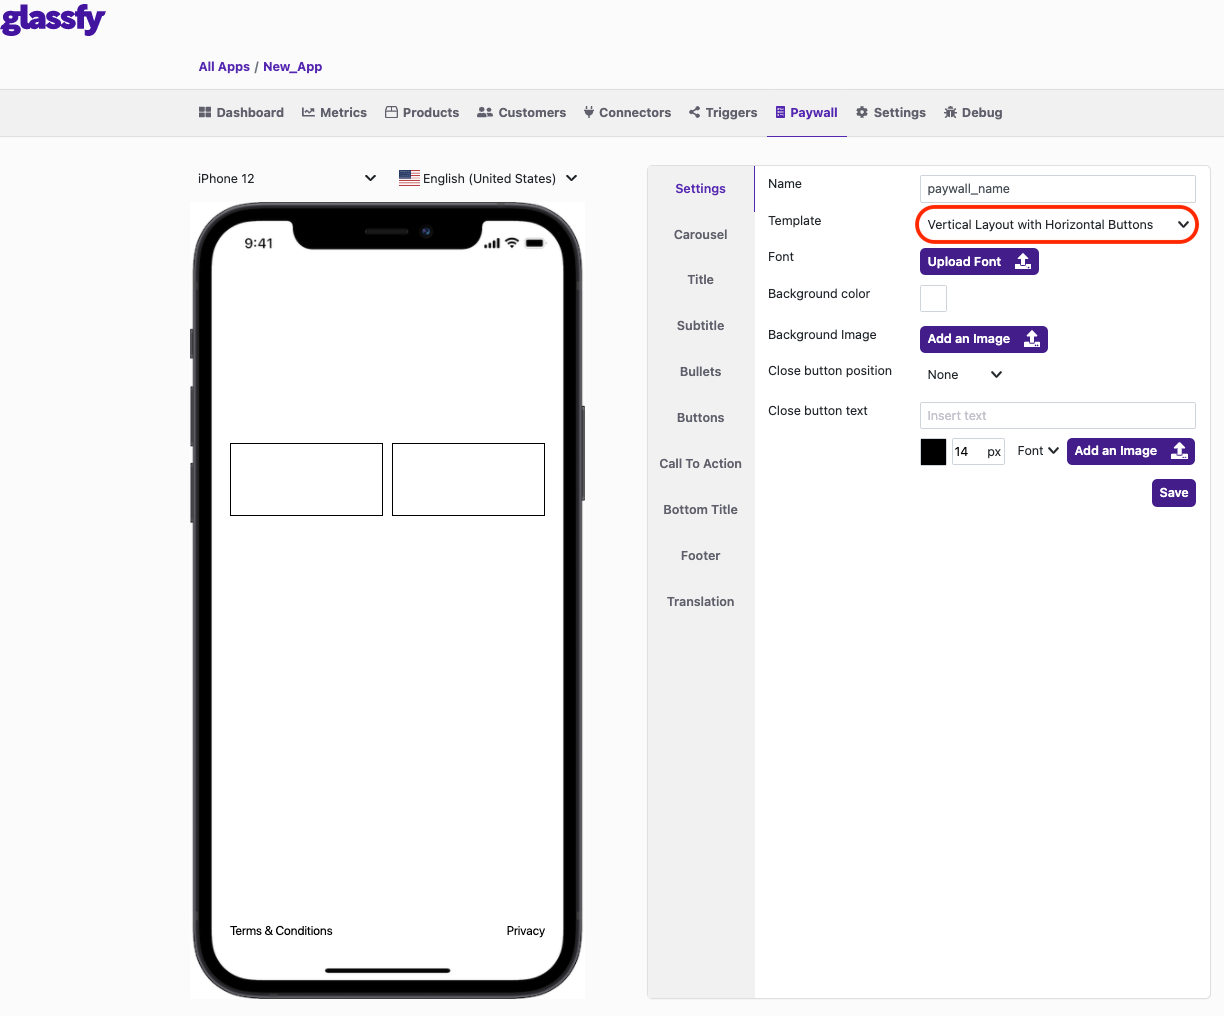
Vertical Base Layout with Horizontal Button
With the Vertical Base Layout with Horizontal Button, there is only one line and each button is divided into it.
3. Configure Buttons
For each button you create, you need to provide a Sku and one or more Text elements
- Sku: The sku related to the button, also the sku which Tags will refer to (Point 1 in the image).
- Text: Clicking the Add Text button shows fifteen points representing the fifteen positions inside and outside of the button (Point 2 in the image).

4. Configure Call to Action
The Call to Action is a purchase button so it is optional in the paywall structure.
It shows a button that the user clicks to proceed with the purchase. If you don't use the Call to Action, the users proceeds with the purchase when they click a normal button.
When creating a call to action, you are asked to provide a Selected Sku and add a Text.
- Sku: The sku related to the button, also the sku which Tags refer to (Point 1 in the image).
- Text: Clicking on the Add Text button shows fifteen points representing the fifteen positions inside and outside of the button (Point 2 in the image).

5. Download and Upload Translation
You are be able to upload a translation by clicking on the related button (Point 1 in the image) and to download the current version of the paywall's translation by clicking on the related button (Point 2 in the image).
![]()
Updated almost 2 years ago